


MCP Inspector
The MCP Inspector is a powerful web-based debugging and inspection tool for
MCP (Model Context Protocol) servers. It provides a beautiful, intuitive
interface for testing tools, exploring resources, managing prompts, and
monitoring server connections - all from your browser.
Key Features
- Multi-Server Management: Connect to and manage multiple MCP servers simultaneously
- Tool Testing: Interactive tool execution with schema validation and real-time results
- Resource Browser: Explore available resources and data sources
- Prompt Manager: Test and manage prompts with argument templates
- Chat Interface: Interactive chat with LLM integration for testing conversational flows
- OAuth Support: Built-in OAuth flow handling with popup authentication
- Session Persistence: Connections saved to localStorage with auto-reconnect
- OpenAI Apps SDK Support: Full widget rendering and debugging for ChatGPT Apps
- Saved Requests: Save and replay tool executions
- Command Palette: Powerful search and navigation with
Cmd/Ctrl + K - Add to Client: Quickly add MCP servers to Cursor, VS Code, Claude Desktop, and CLI tools
Documentation
Explore the inspector documentation:Getting Started
- CLI Usage - Run the inspector from the command line
- Connection Settings - Advanced configuration options
- URL Parameters - Deep links and auto-connect
Features
- Overview - Saved requests, preview mode, and connection management
- Keyboard Shortcuts - Complete shortcuts reference
- Command Palette - Search and navigation guide
- RPC Logging - Monitor JSON-RPC messages in real-time
Integration & Advanced
- Integration - Mount inspector on Express or Hono apps
- Debugging ChatGPT Apps - Test and debug ChatGPT Apps with OpenAI Apps SDK
- Self-Hosting - Deploy your own inspector instance
- Development - Development setup and contribution guide
- Changelog - Version history and updates
Getting Started
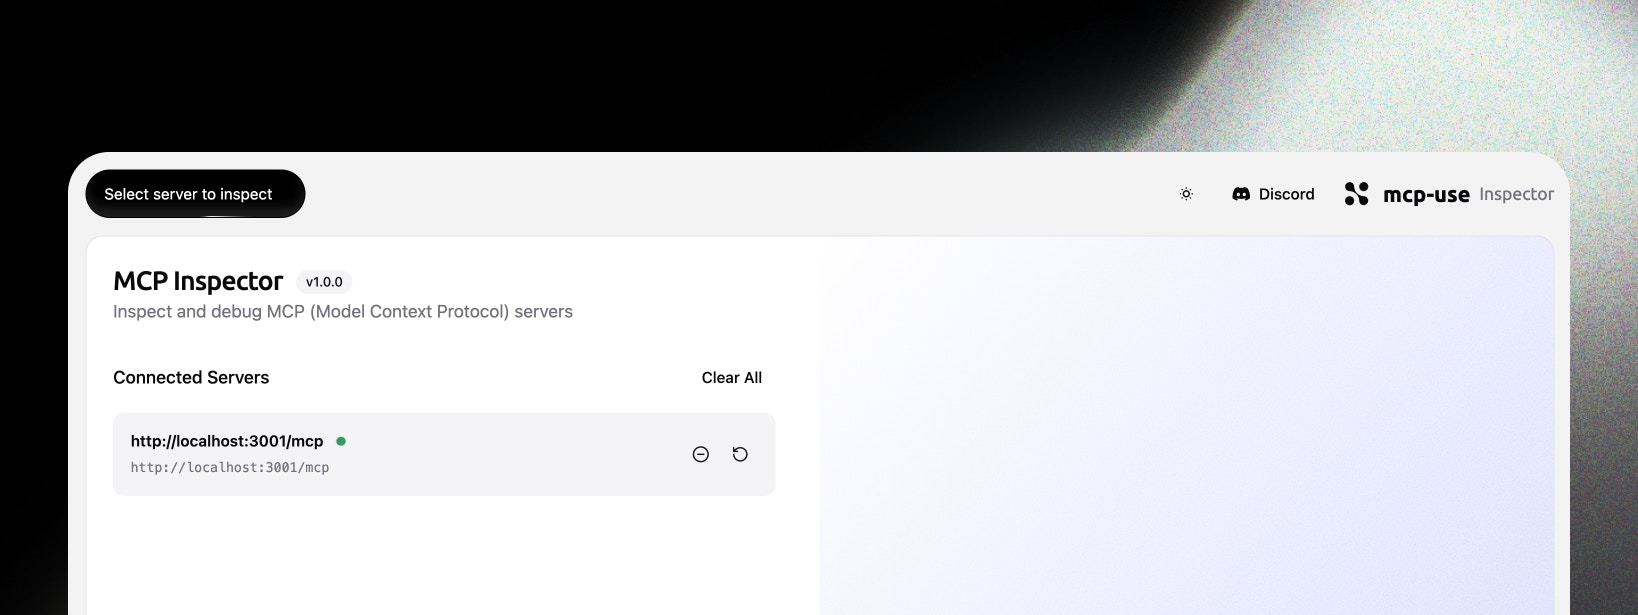
Dashboard
The MCP Inspector dashboard is your central hub for managing MCP server connections.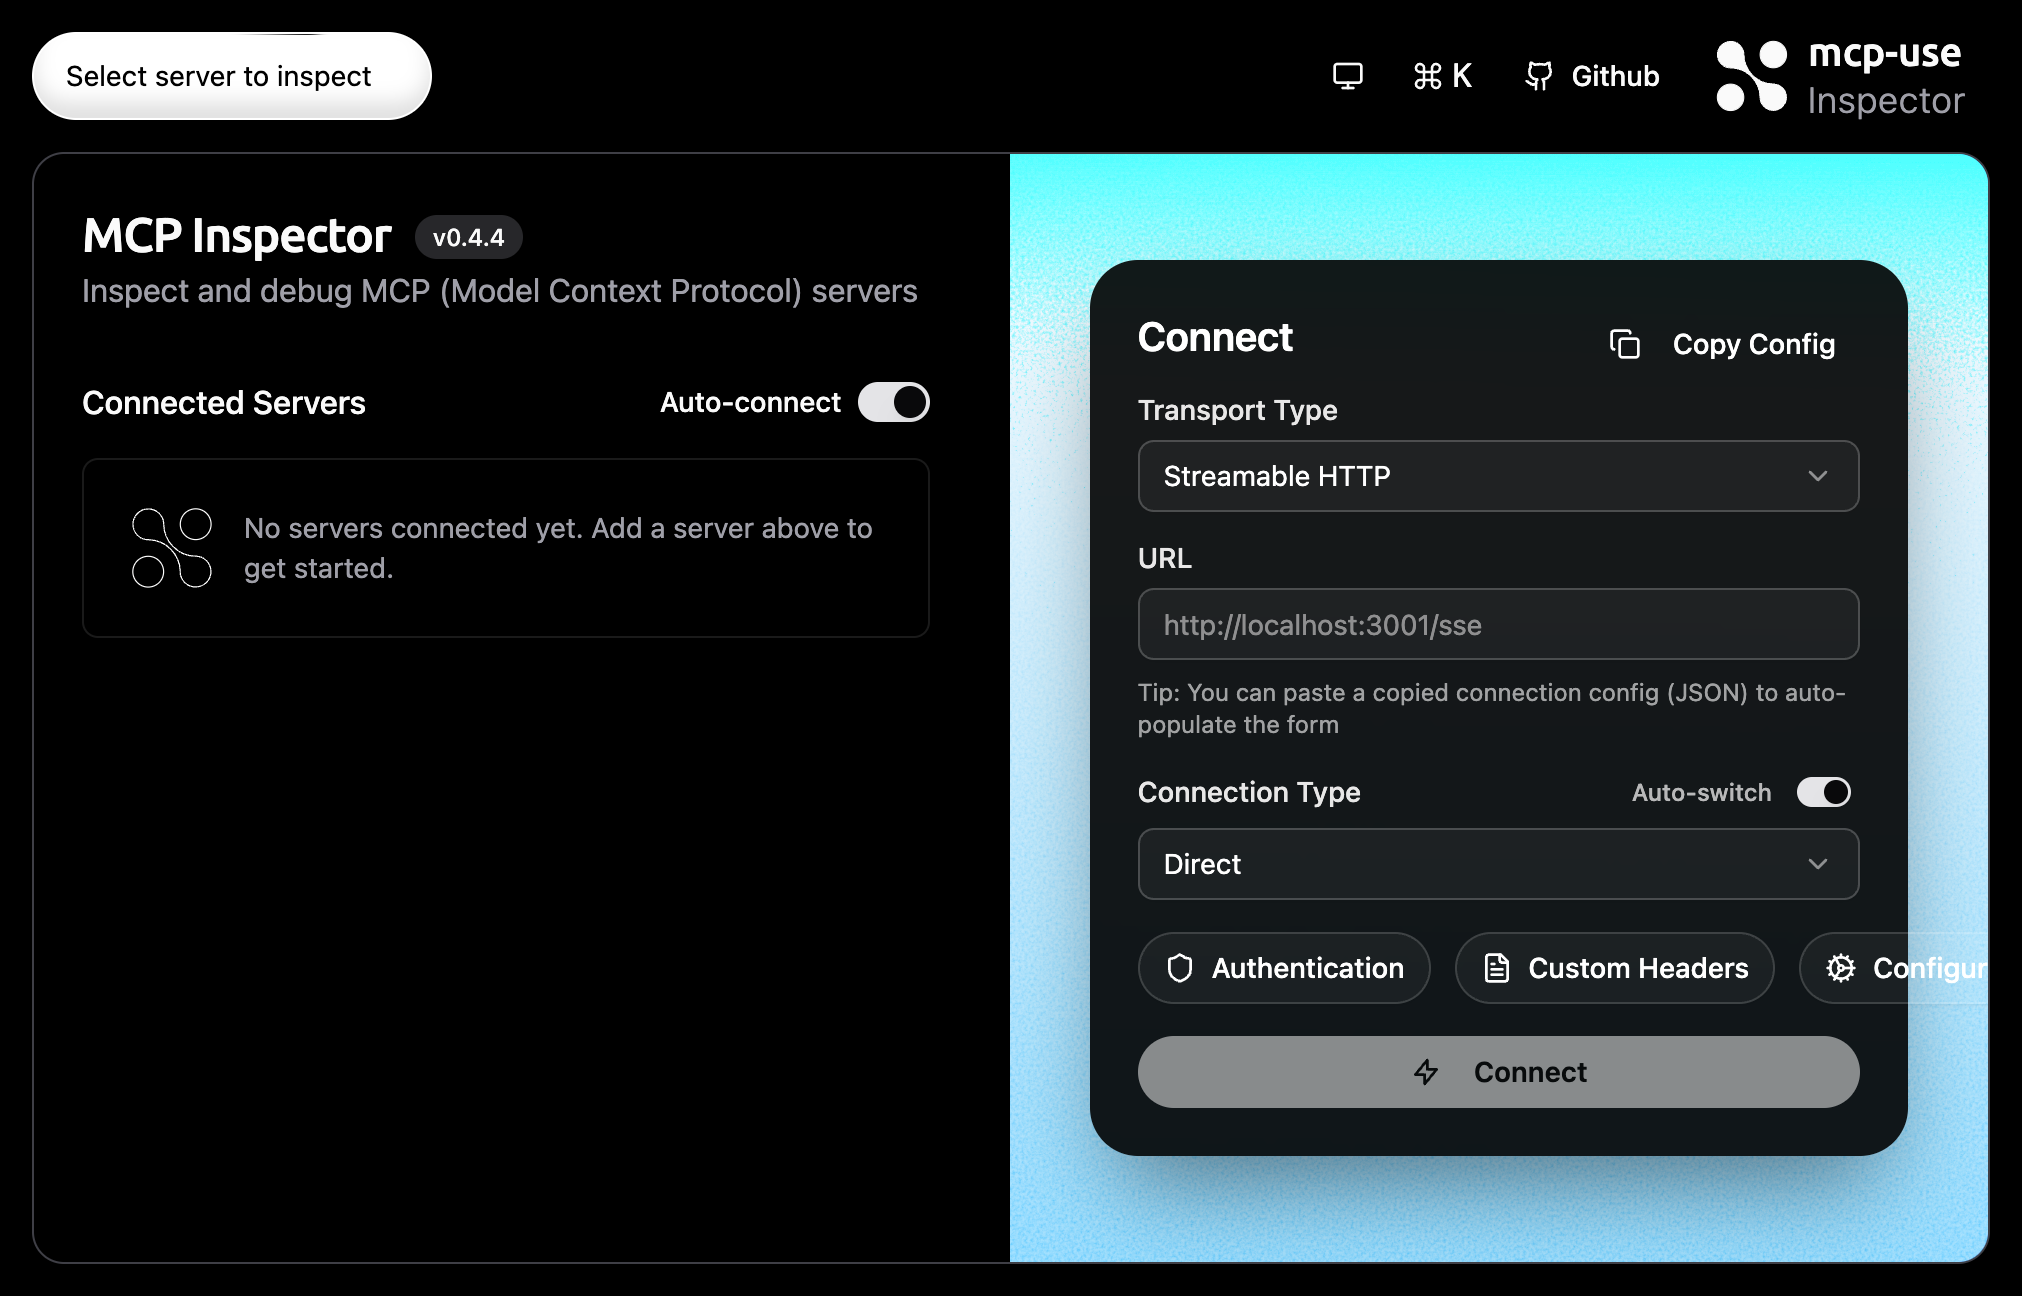
- Connected Servers panel (left)
- Connect panel with transport, URL, connection type, auth, headers (right)
- Quick actions in the top bar
Add MCP Server

OAuth Authentication
All authentication tokens and credentials are stored securely in your
browser’s local storage. Nothing is sent to our servers - everything stays on
your device.
Authorization Request
Servers like Linear require OAuth. After clicking Connect, you’ll see the authorization page.
Connected Server
Once authenticated, the server appears in the Connected Servers list with a green indicator.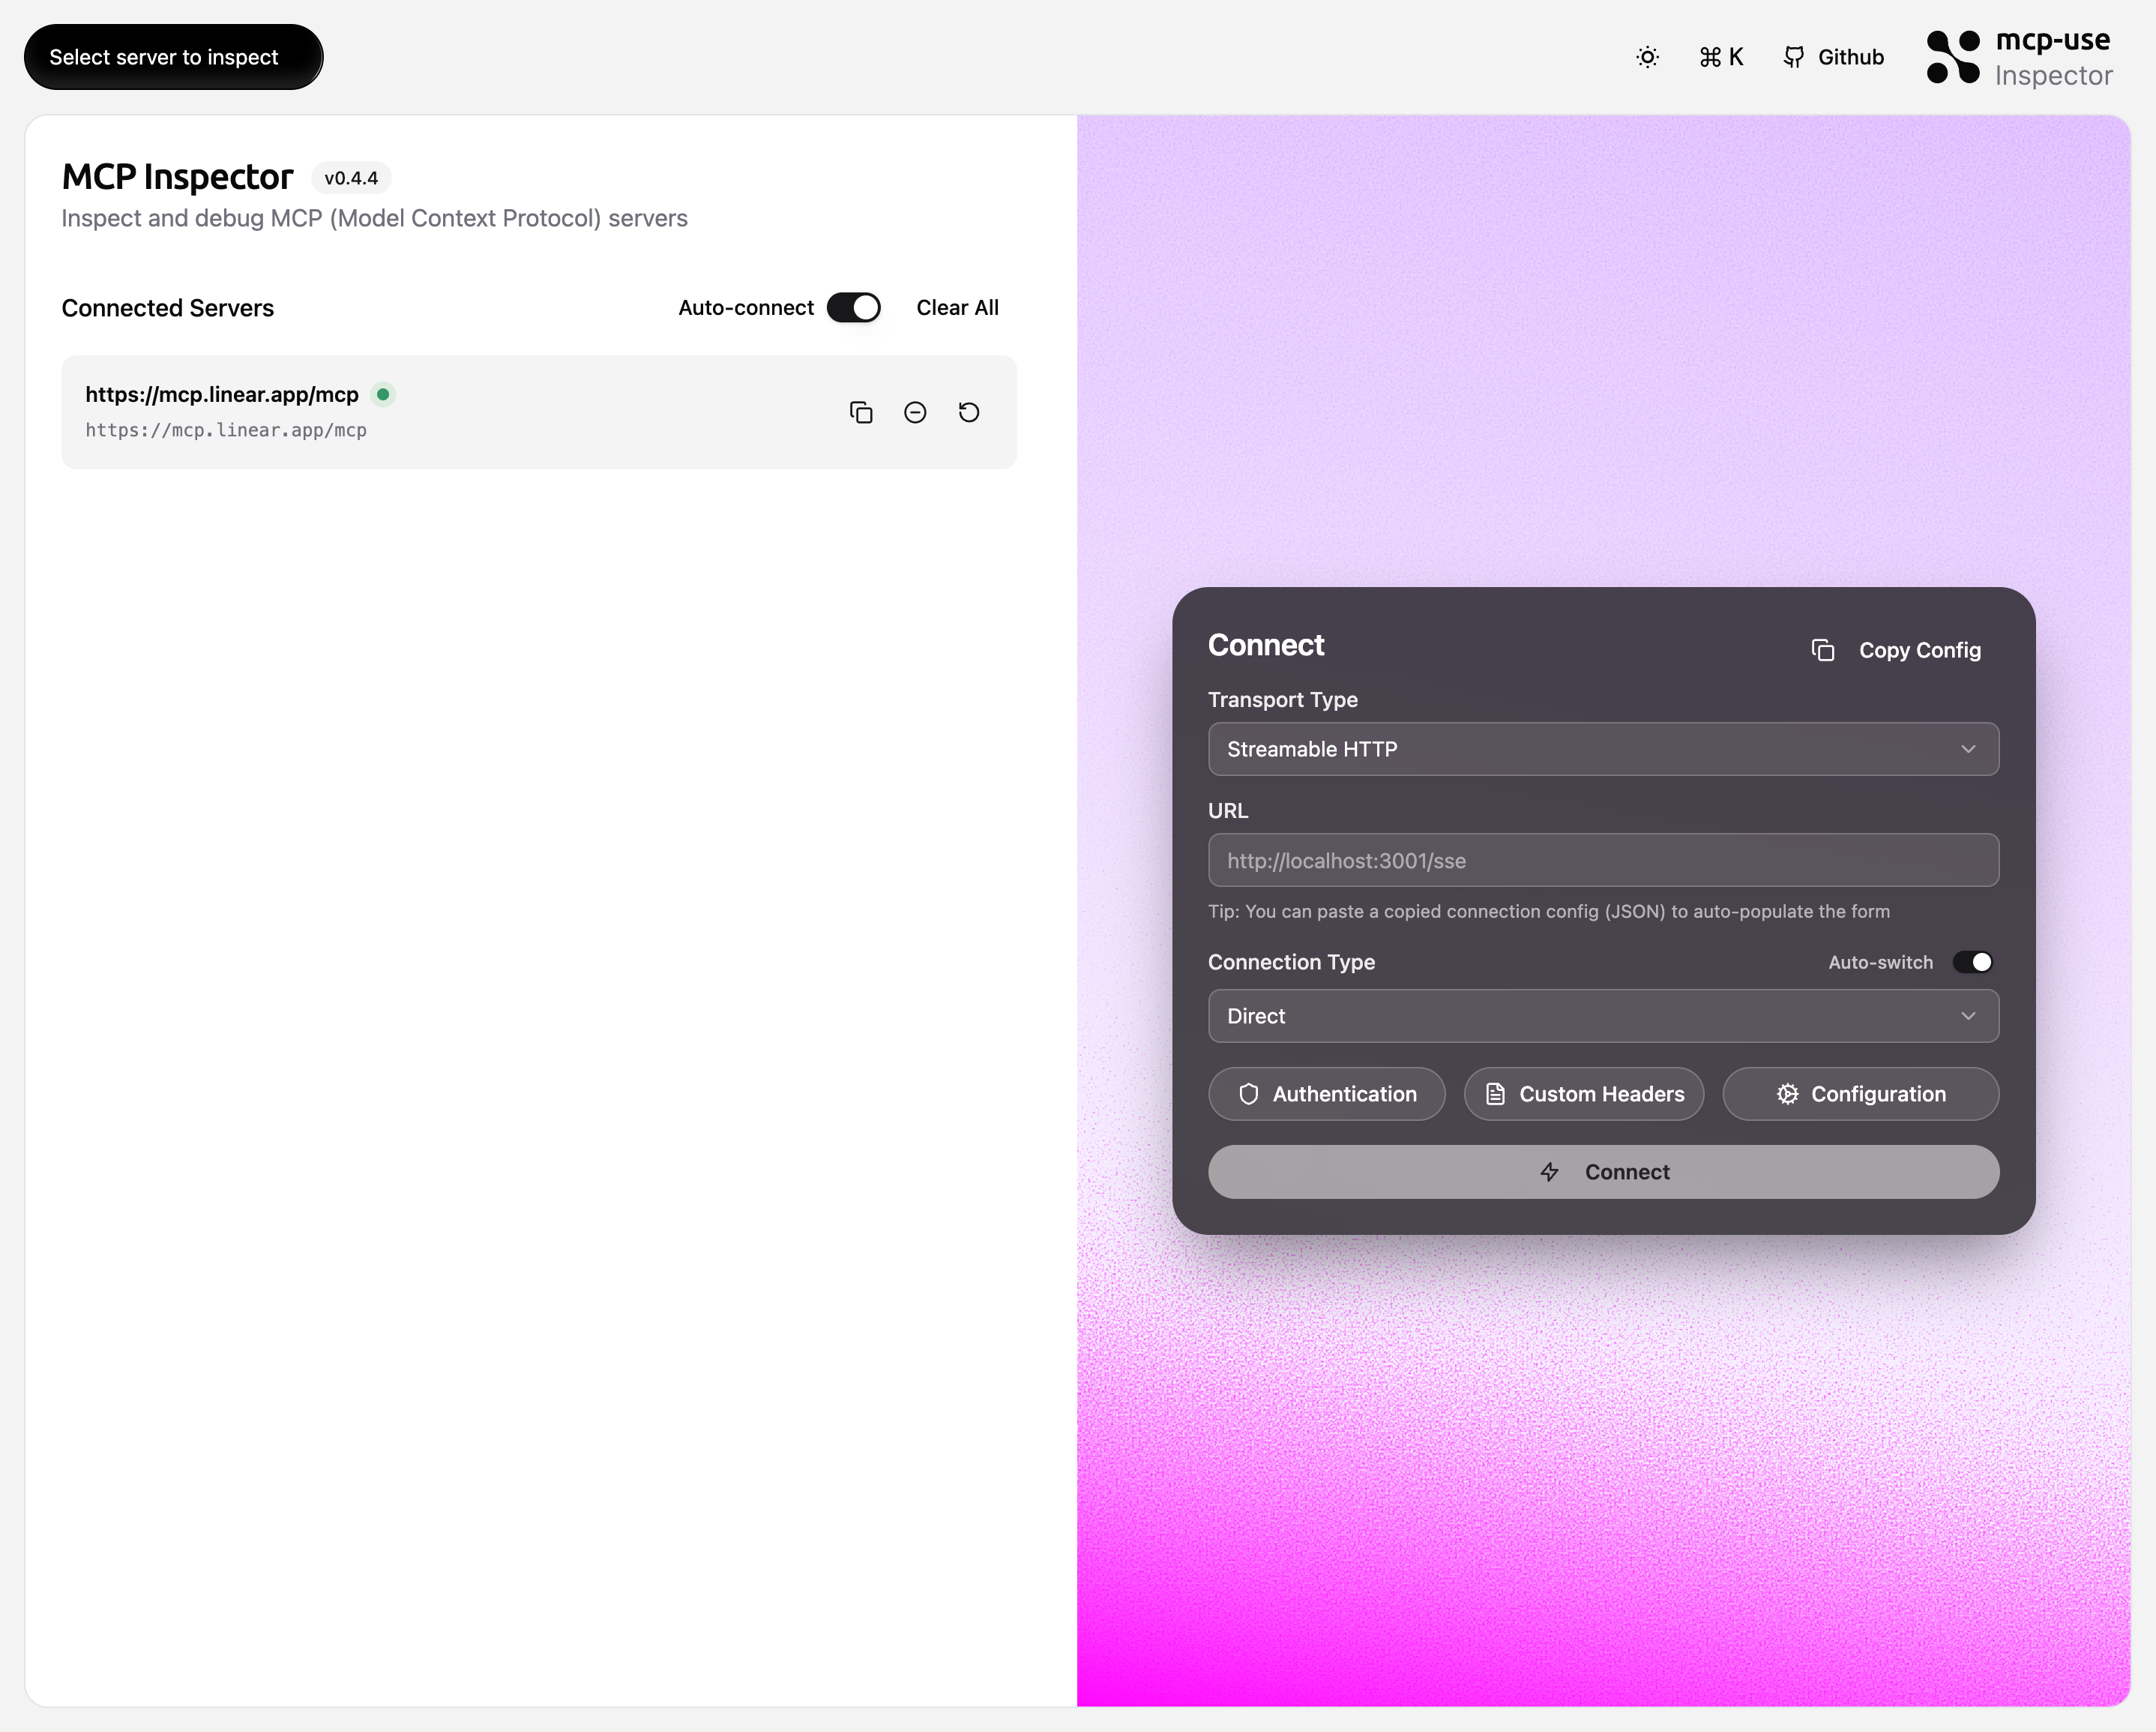
Server Detail View
Clicking “Inspect” opens the detailed server view with tabs for Tools, Resources, Prompts, and Chat.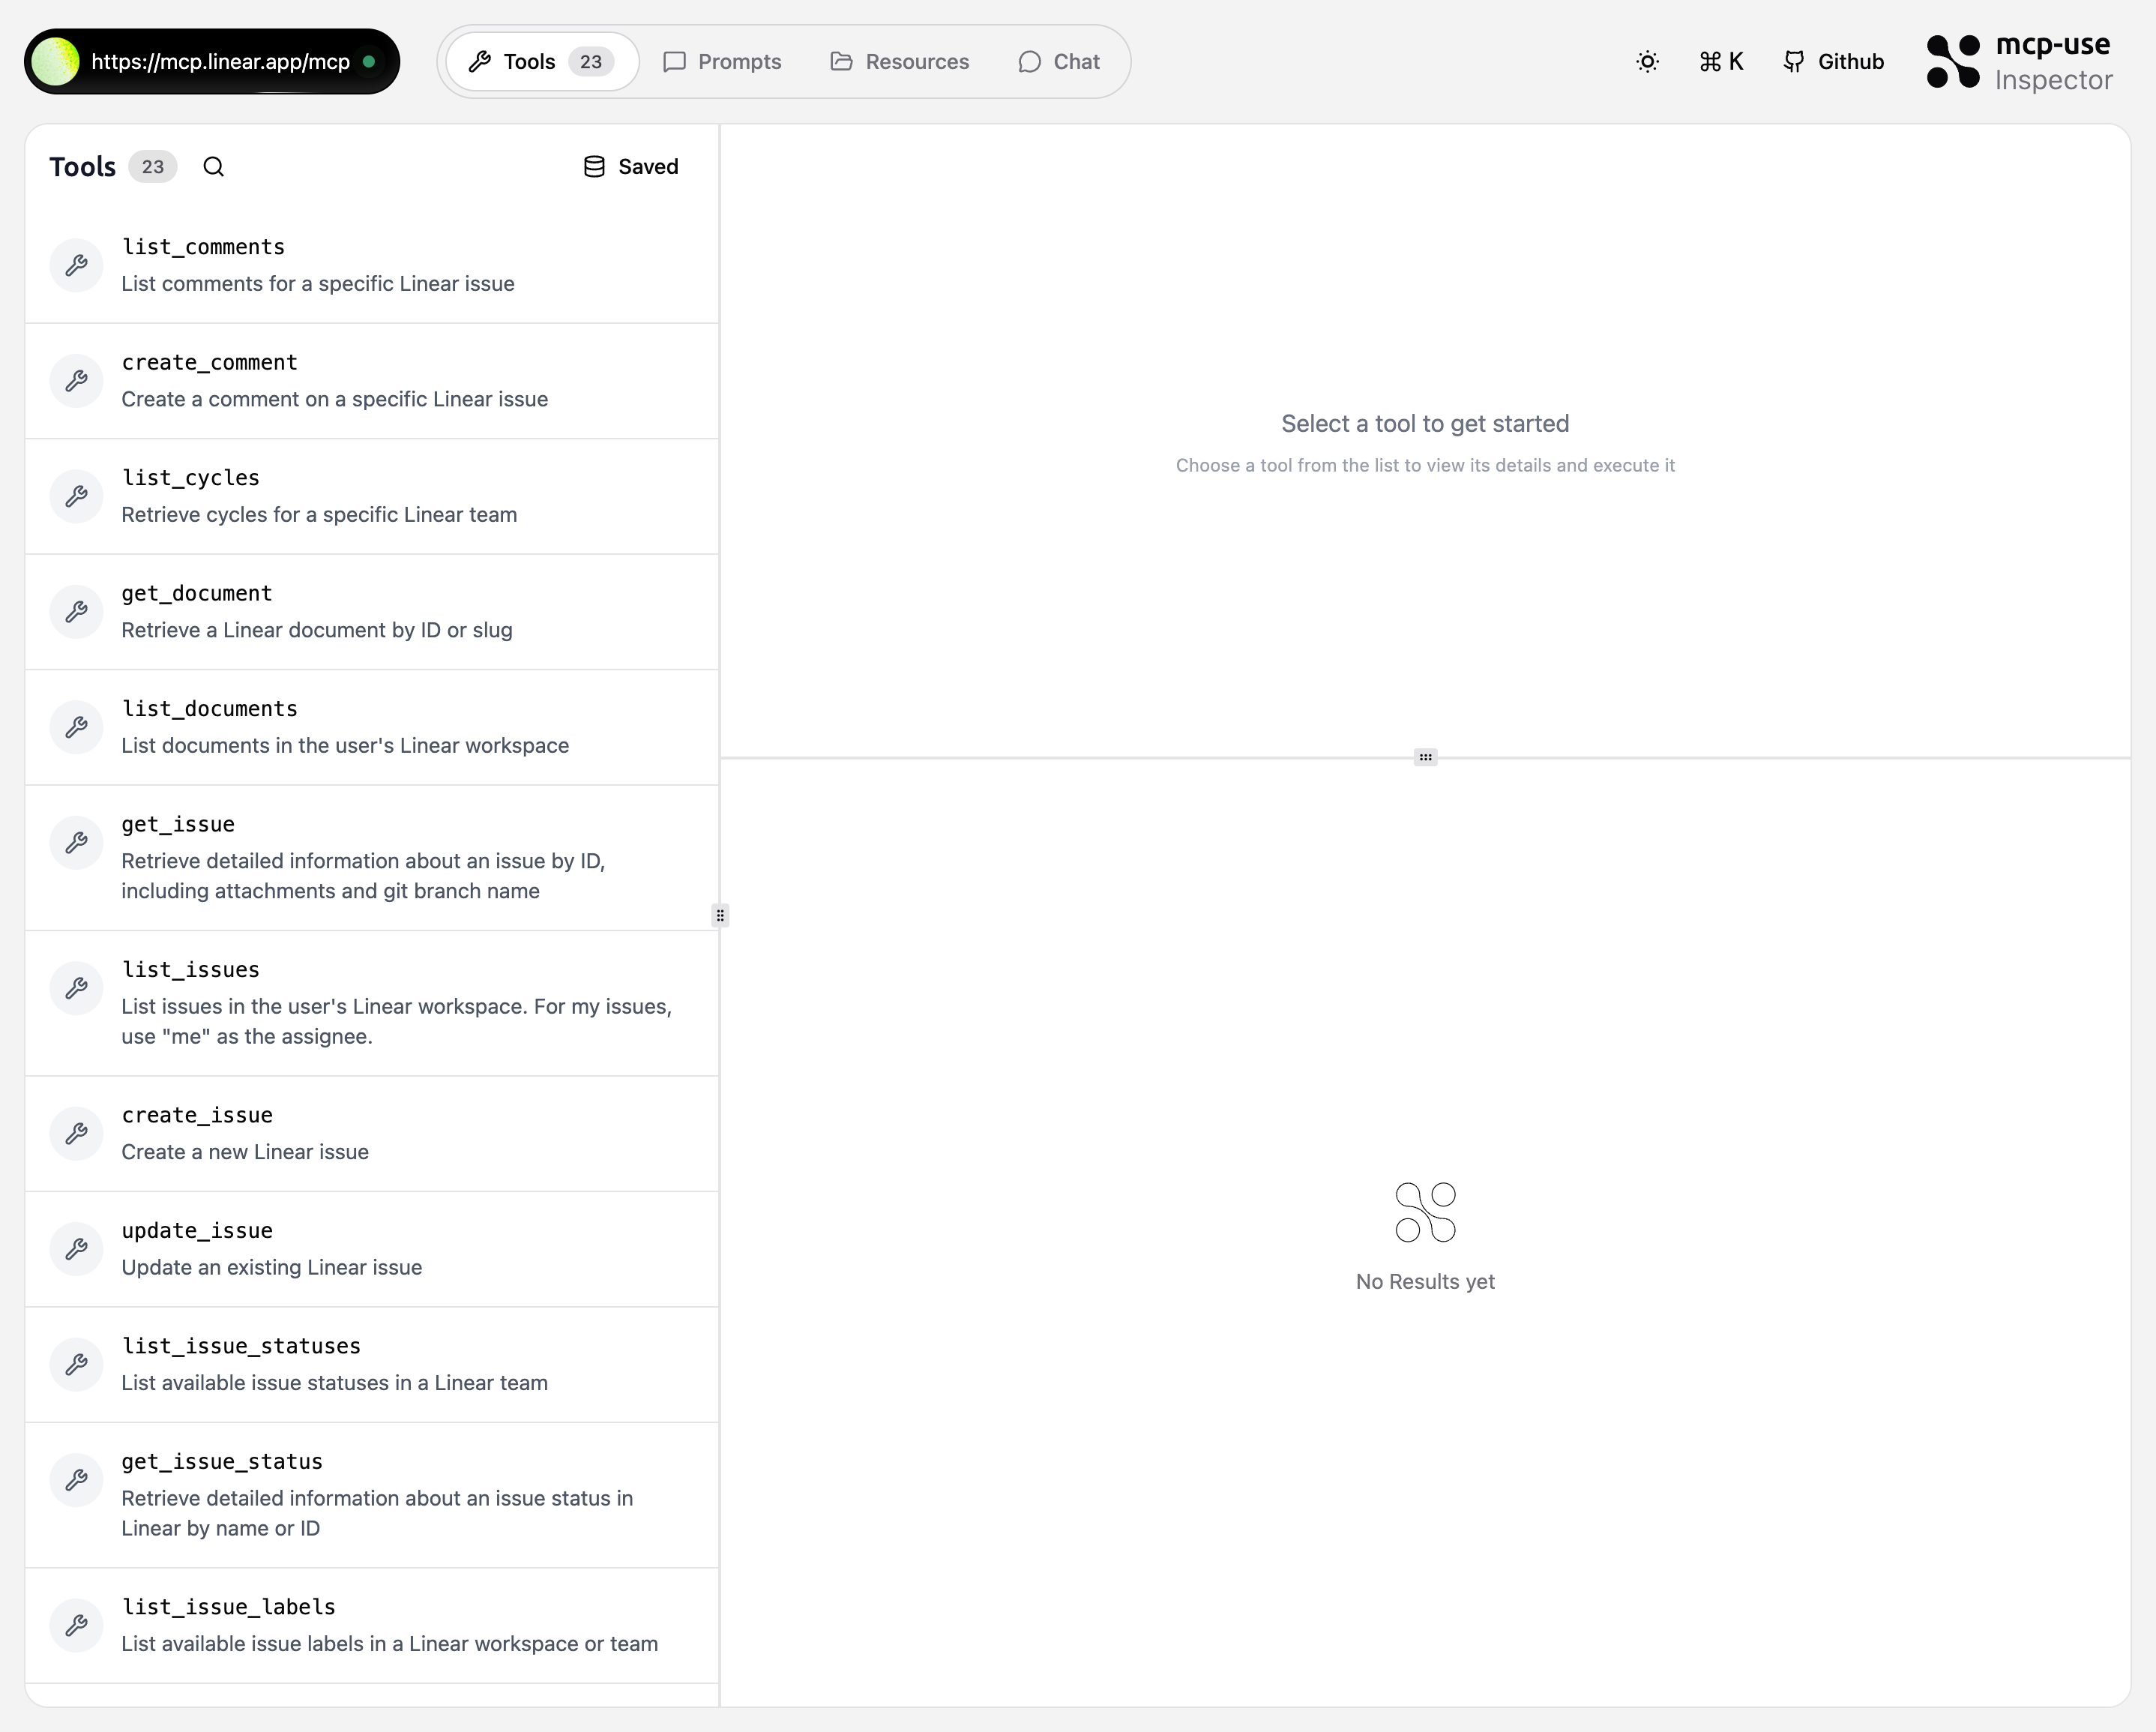
Tools Tab
The Tools tab displays all available tools from the MCP server. Each tool shows its name and description.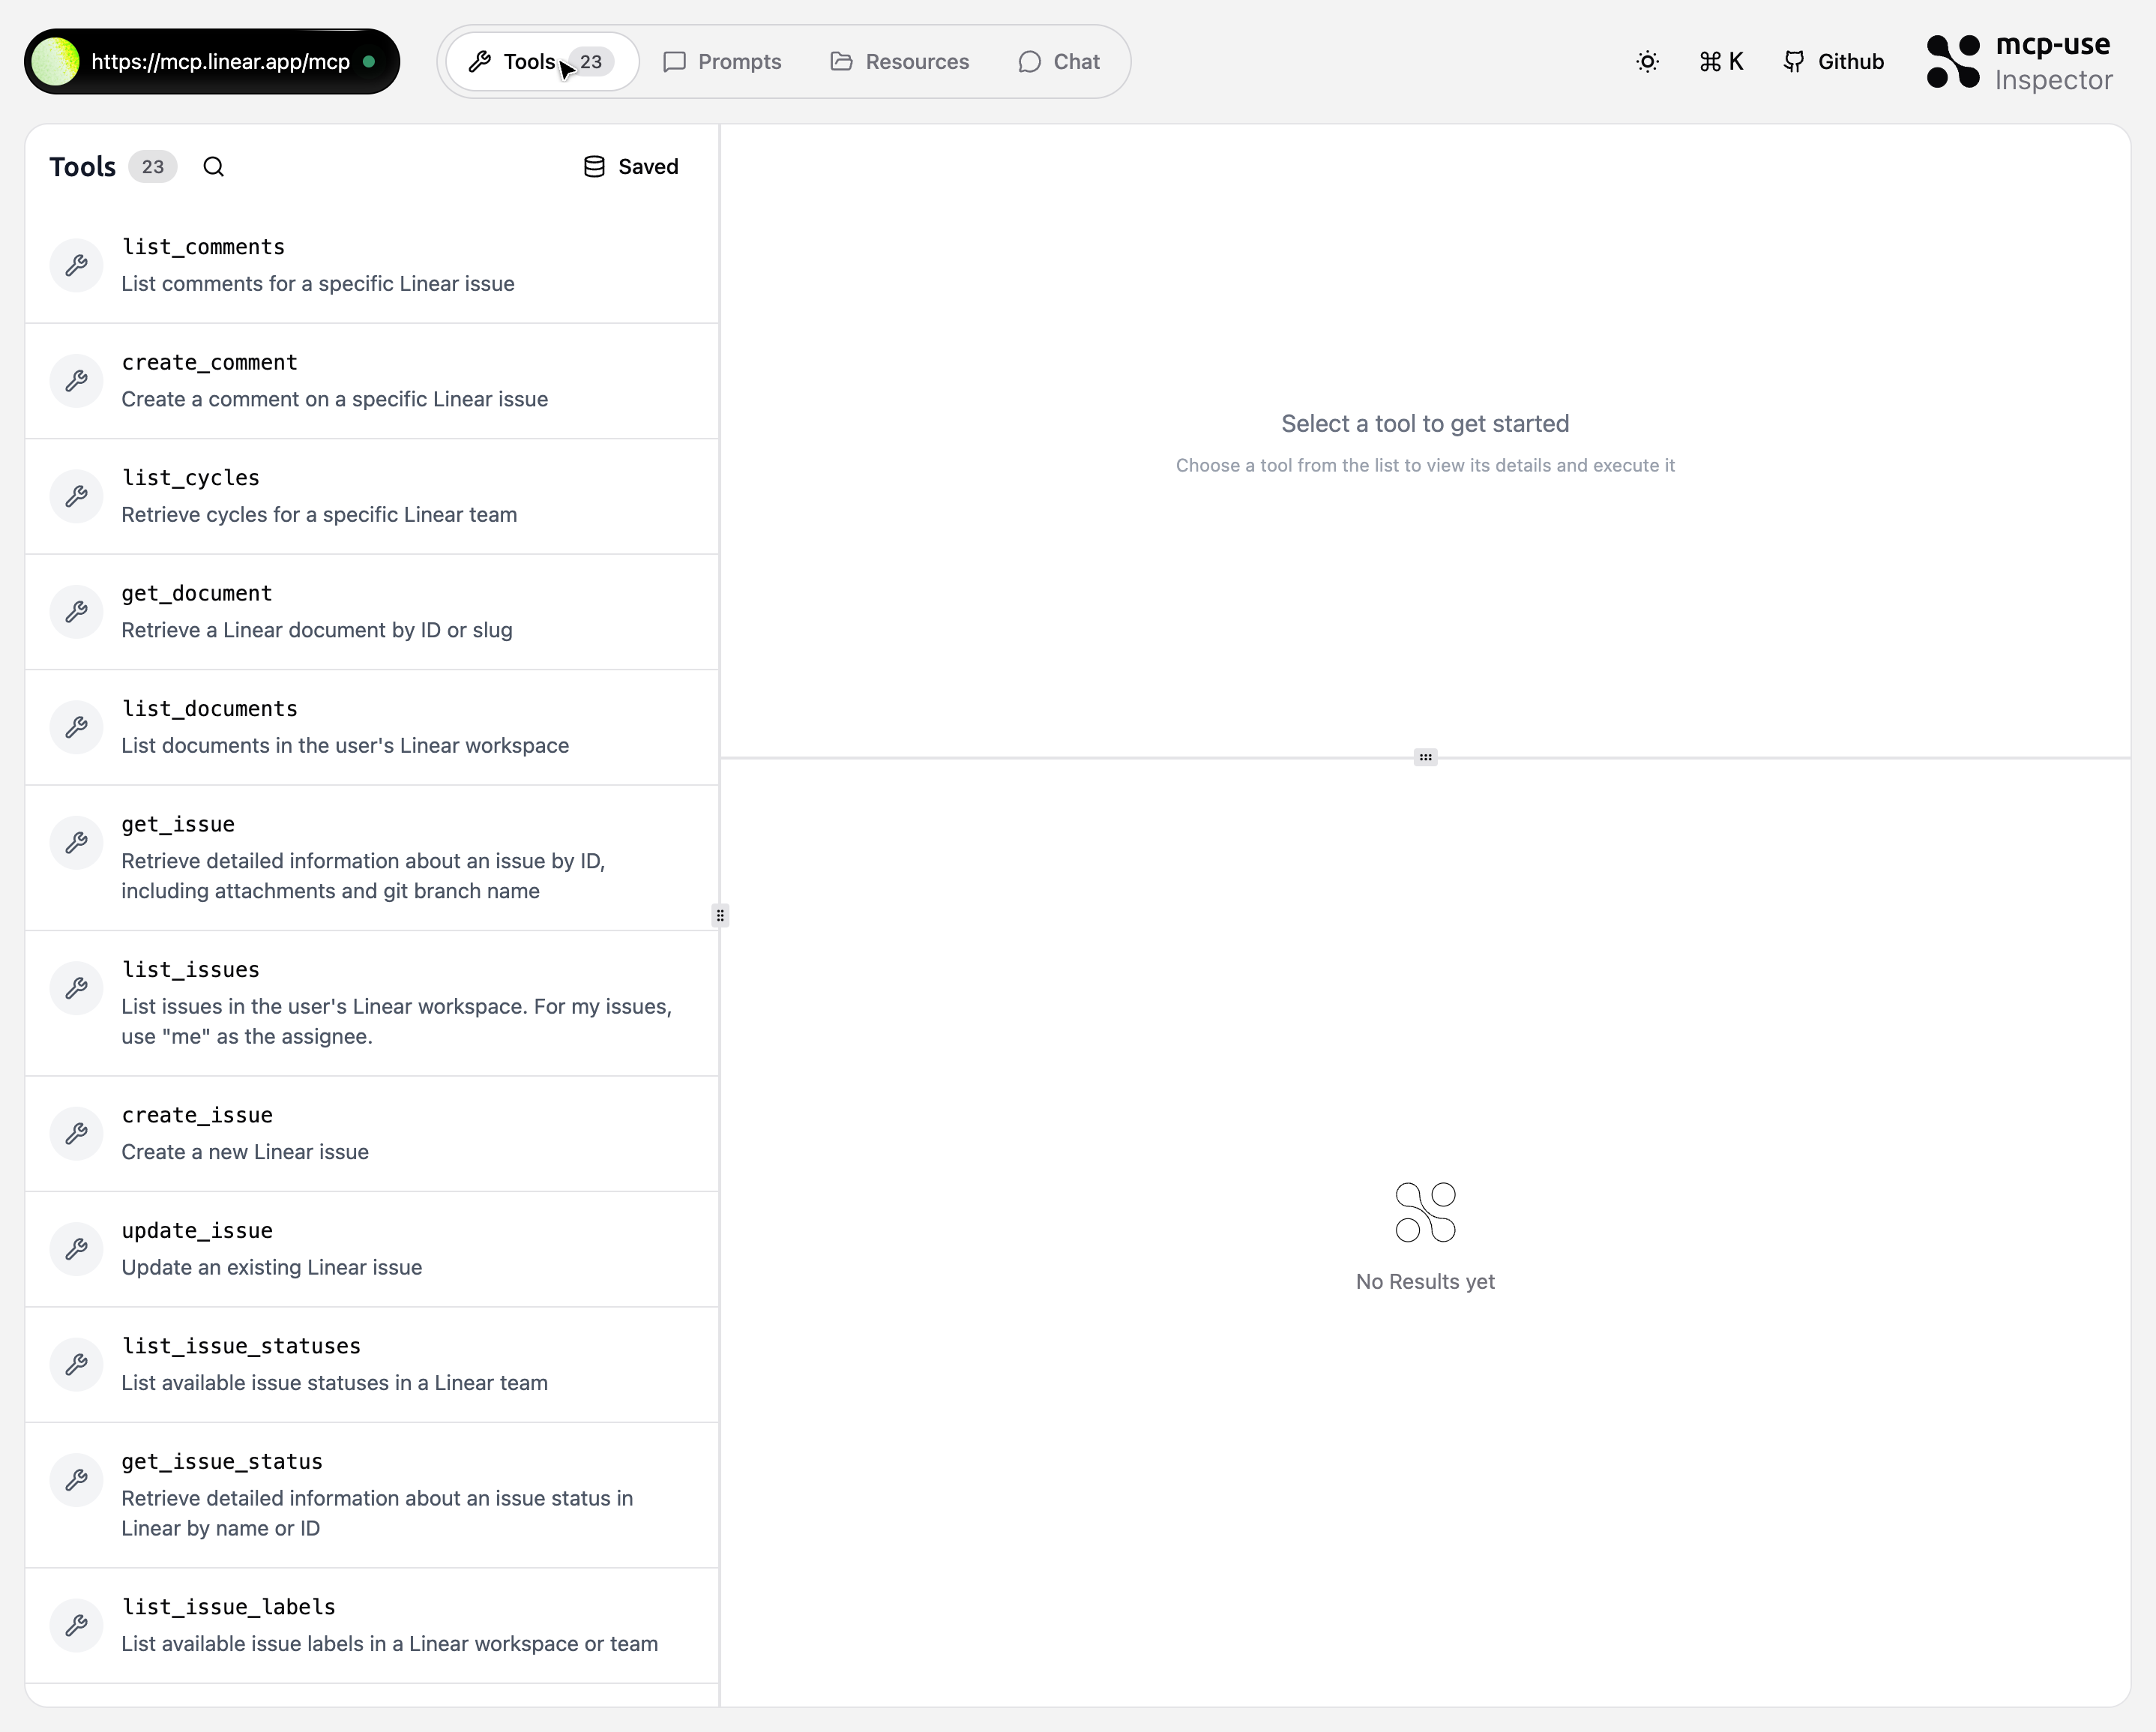
Resources Tab
The Resources tab displays available resources from the MCP server. Resources are data sources the server can provide.
Prompts Tab
The Prompts tab shows pre-configured prompts from the MCP server. You can select and execute prompts with parameters.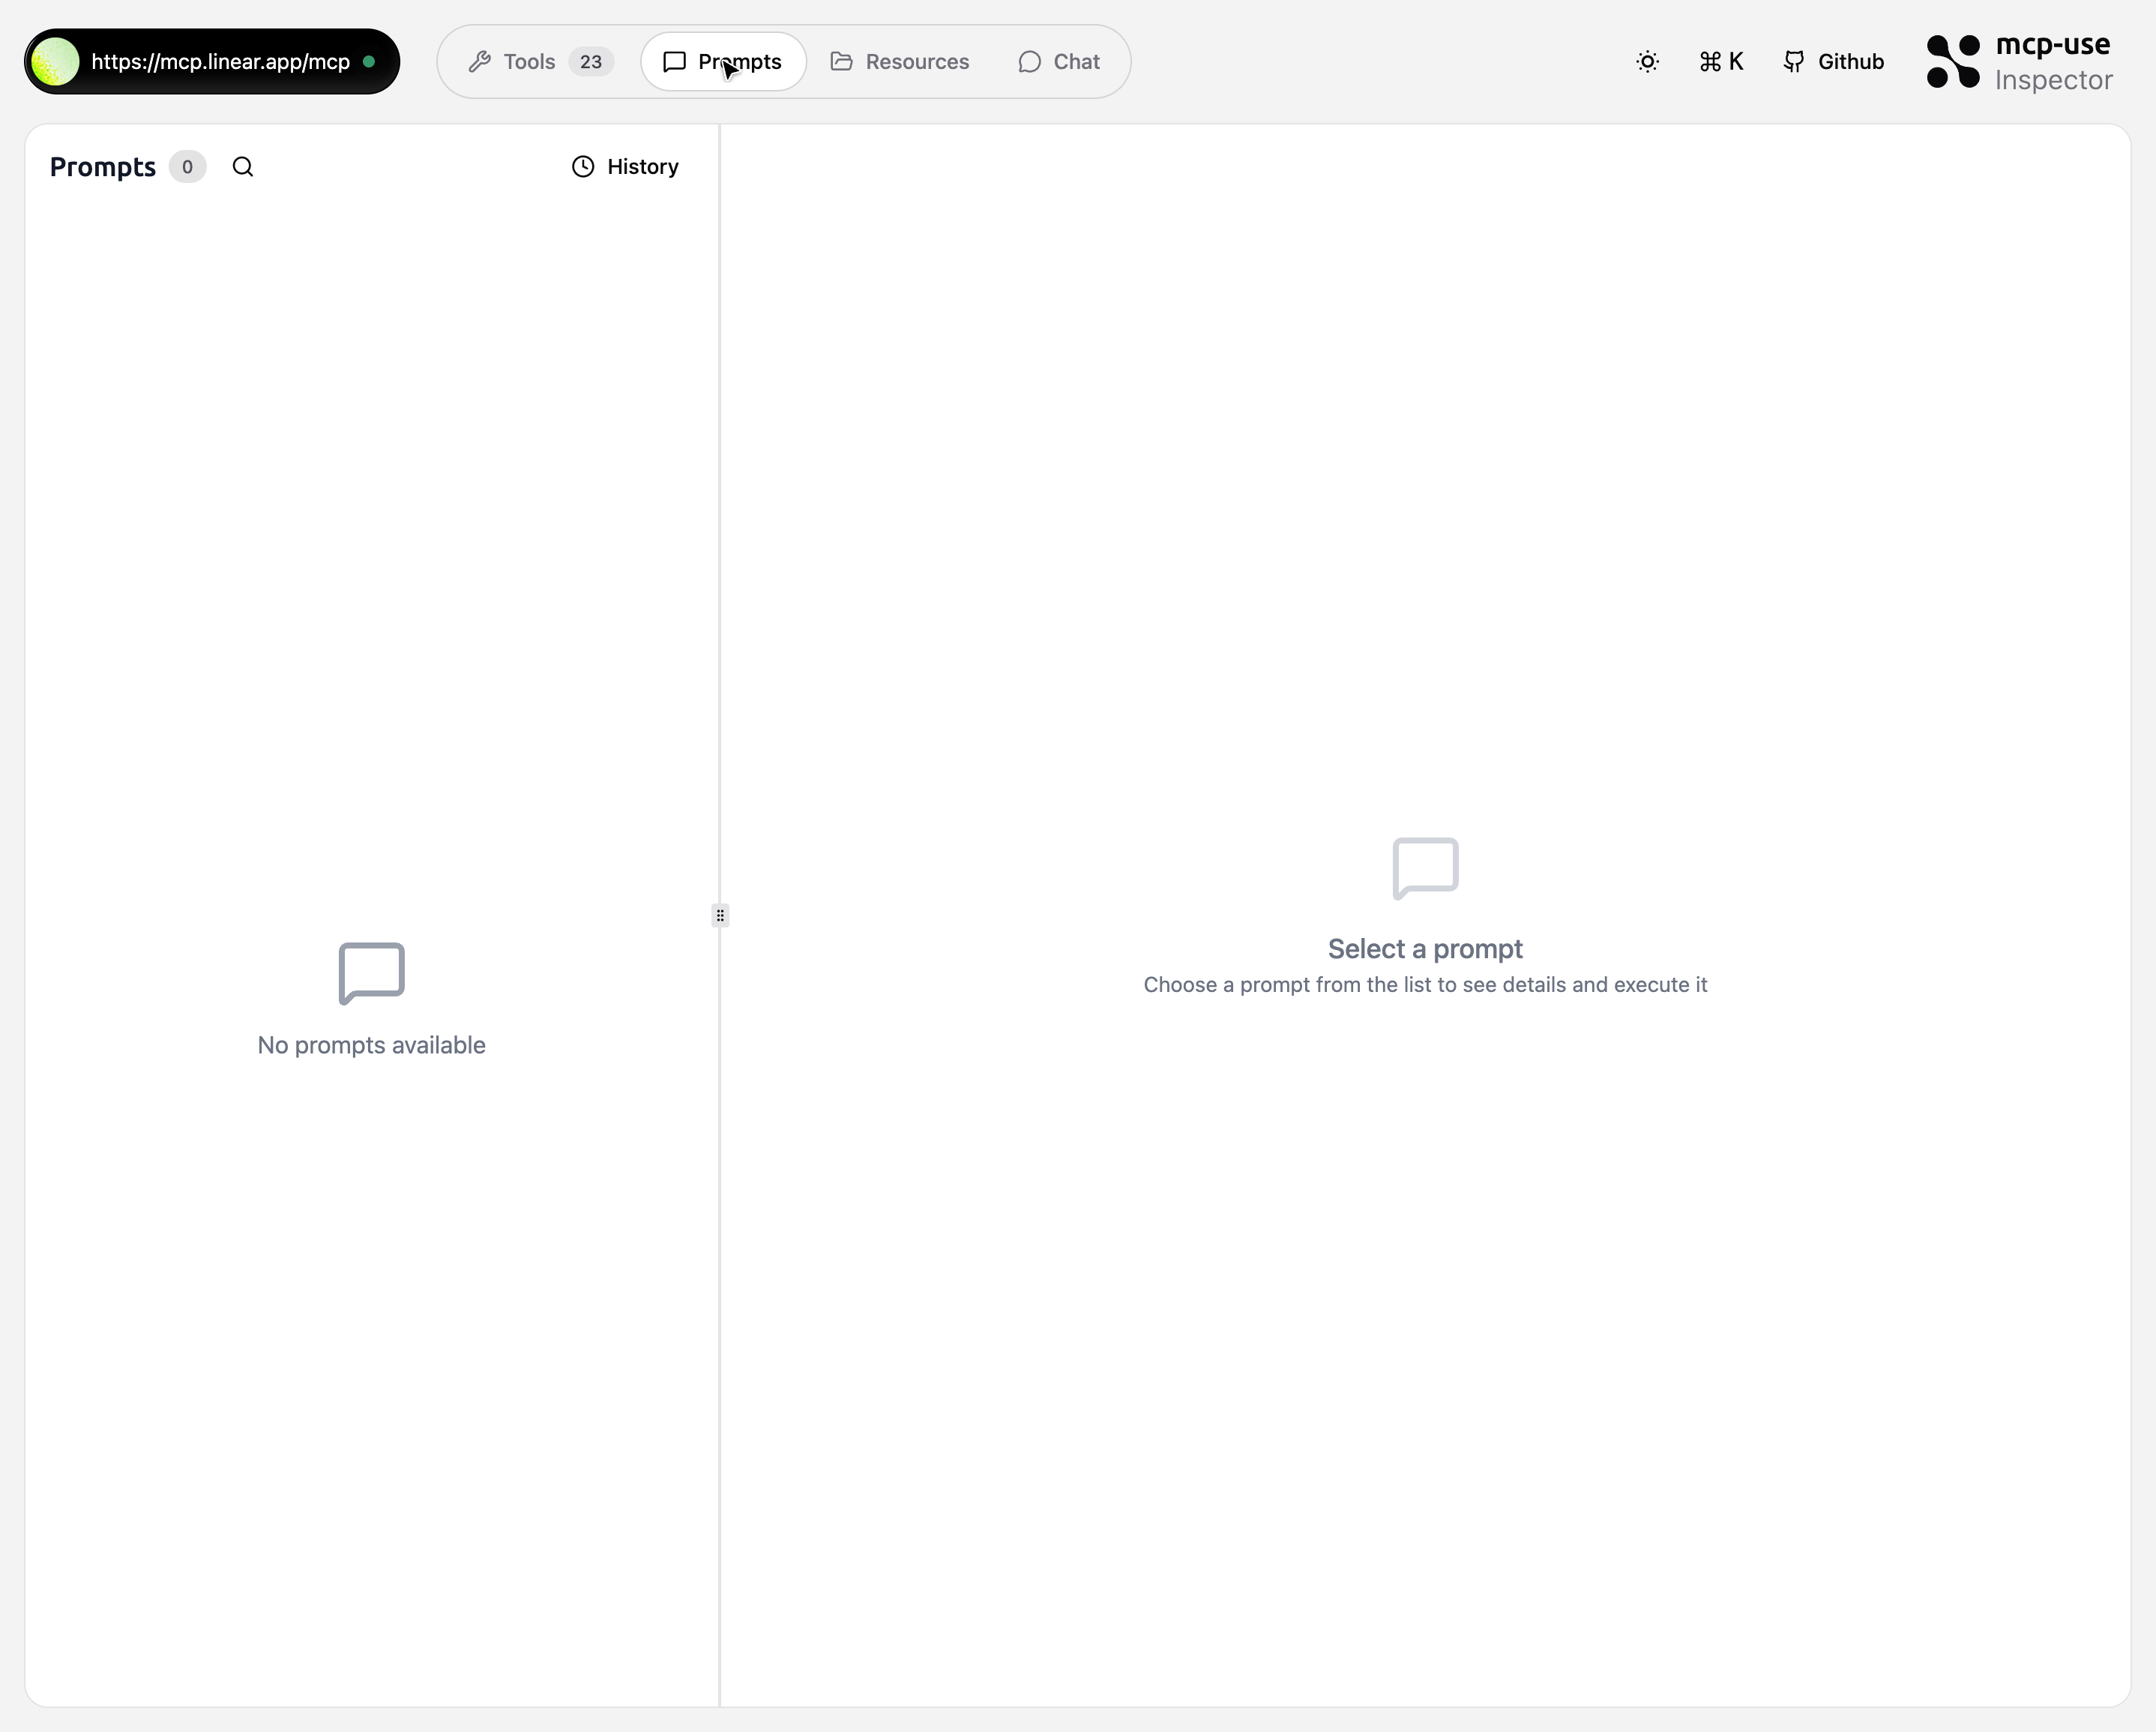
Elicitation Tab
The Elicitation tab appears when a tool requests user input during execution. What you can do:- Review pending elicitation requests
- Fill form fields generated from the server’s schema
- Accept, decline, or cancel requests
- Jump back to tool results after response submission
- Untitled single-select:
type: "string"+enum - Titled single-select:
type: "string"+oneOf[{ const, title }] - Legacy titled enum:
type: "string"+enum+enumNames - Untitled multi-select:
type: "array"+items.enum - Titled multi-select:
type: "array"+items.anyOf[{ const, title }]
Chat Tab
The Chat feature uses a BYOK (Bring Your Own Key) model. Your API key is
stored locally in your browser and never sent to our servers. All requests are
made directly from your device to your LLM provider.
Chat Setup
To use the chat:Configure API Key
Click “Configure API Key” to open the configuration modal.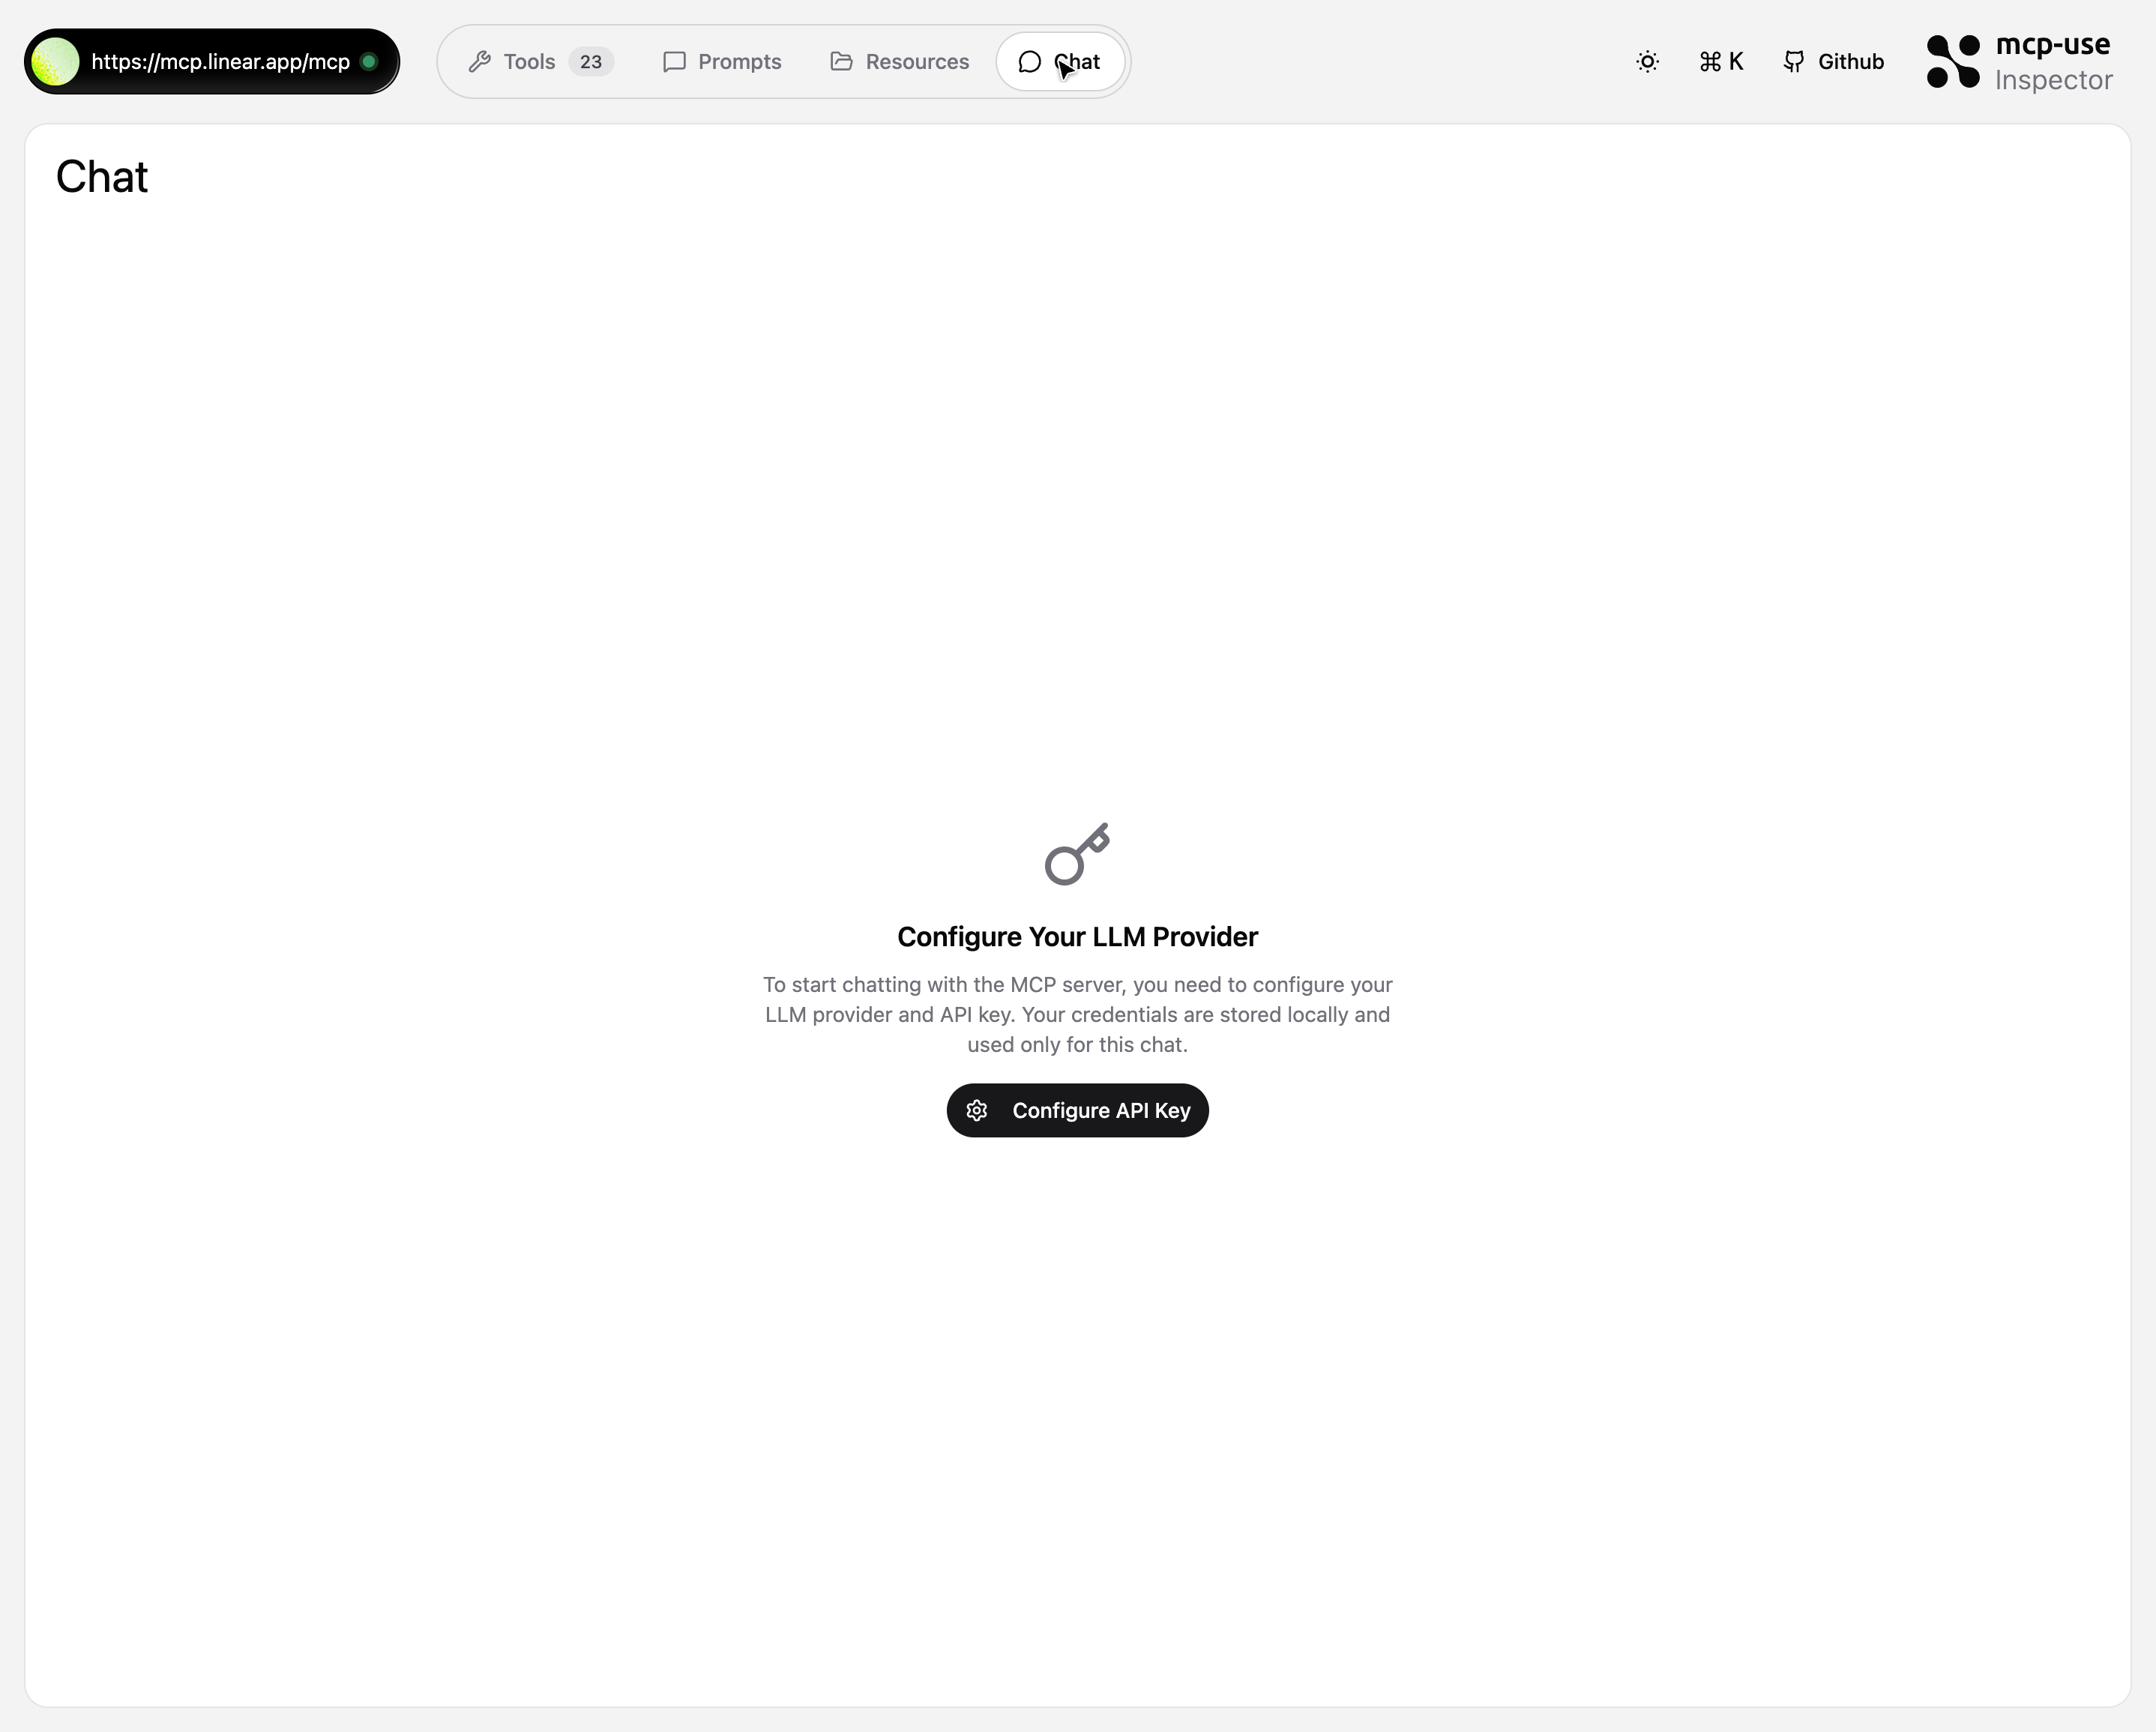
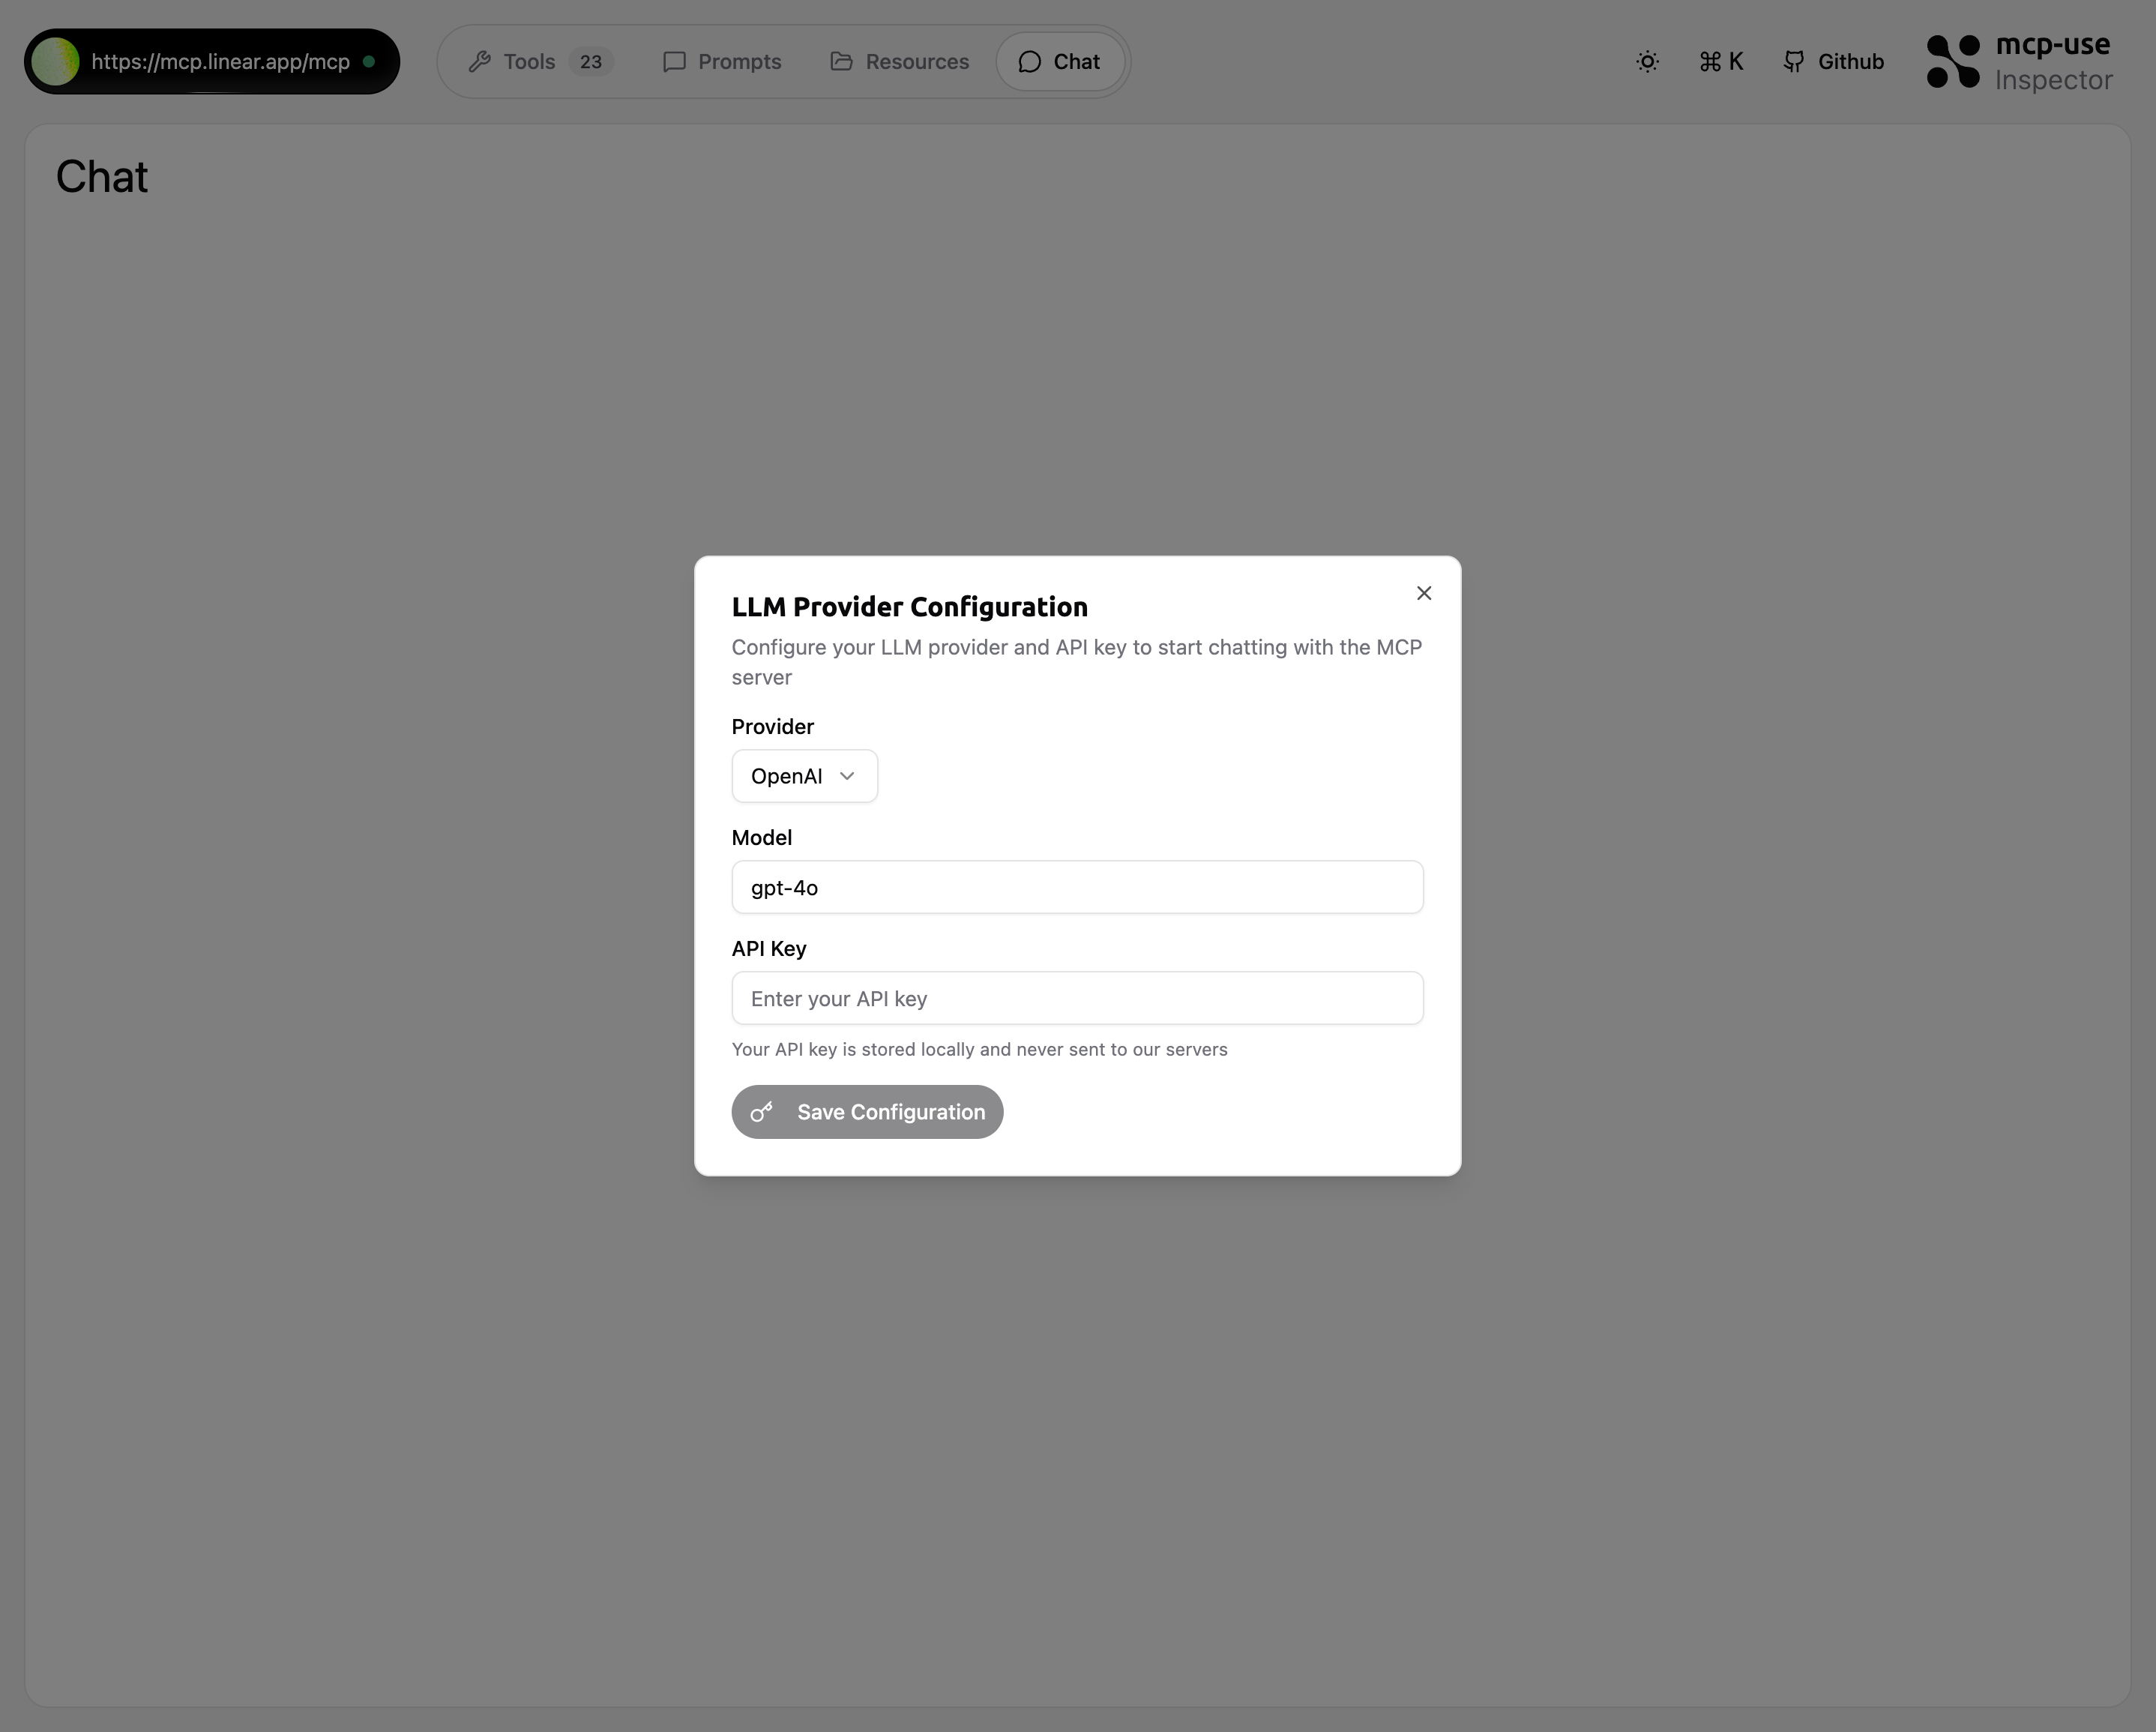
- Provider: Select your LLM provider (OpenAI, Anthropic, etc.)
- Model: Choose the model to use (gpt-4o, claude-3, etc.)
- API Key: Enter your API key (stored locally in browser)
- Click “Save Configuration” to activate the chat
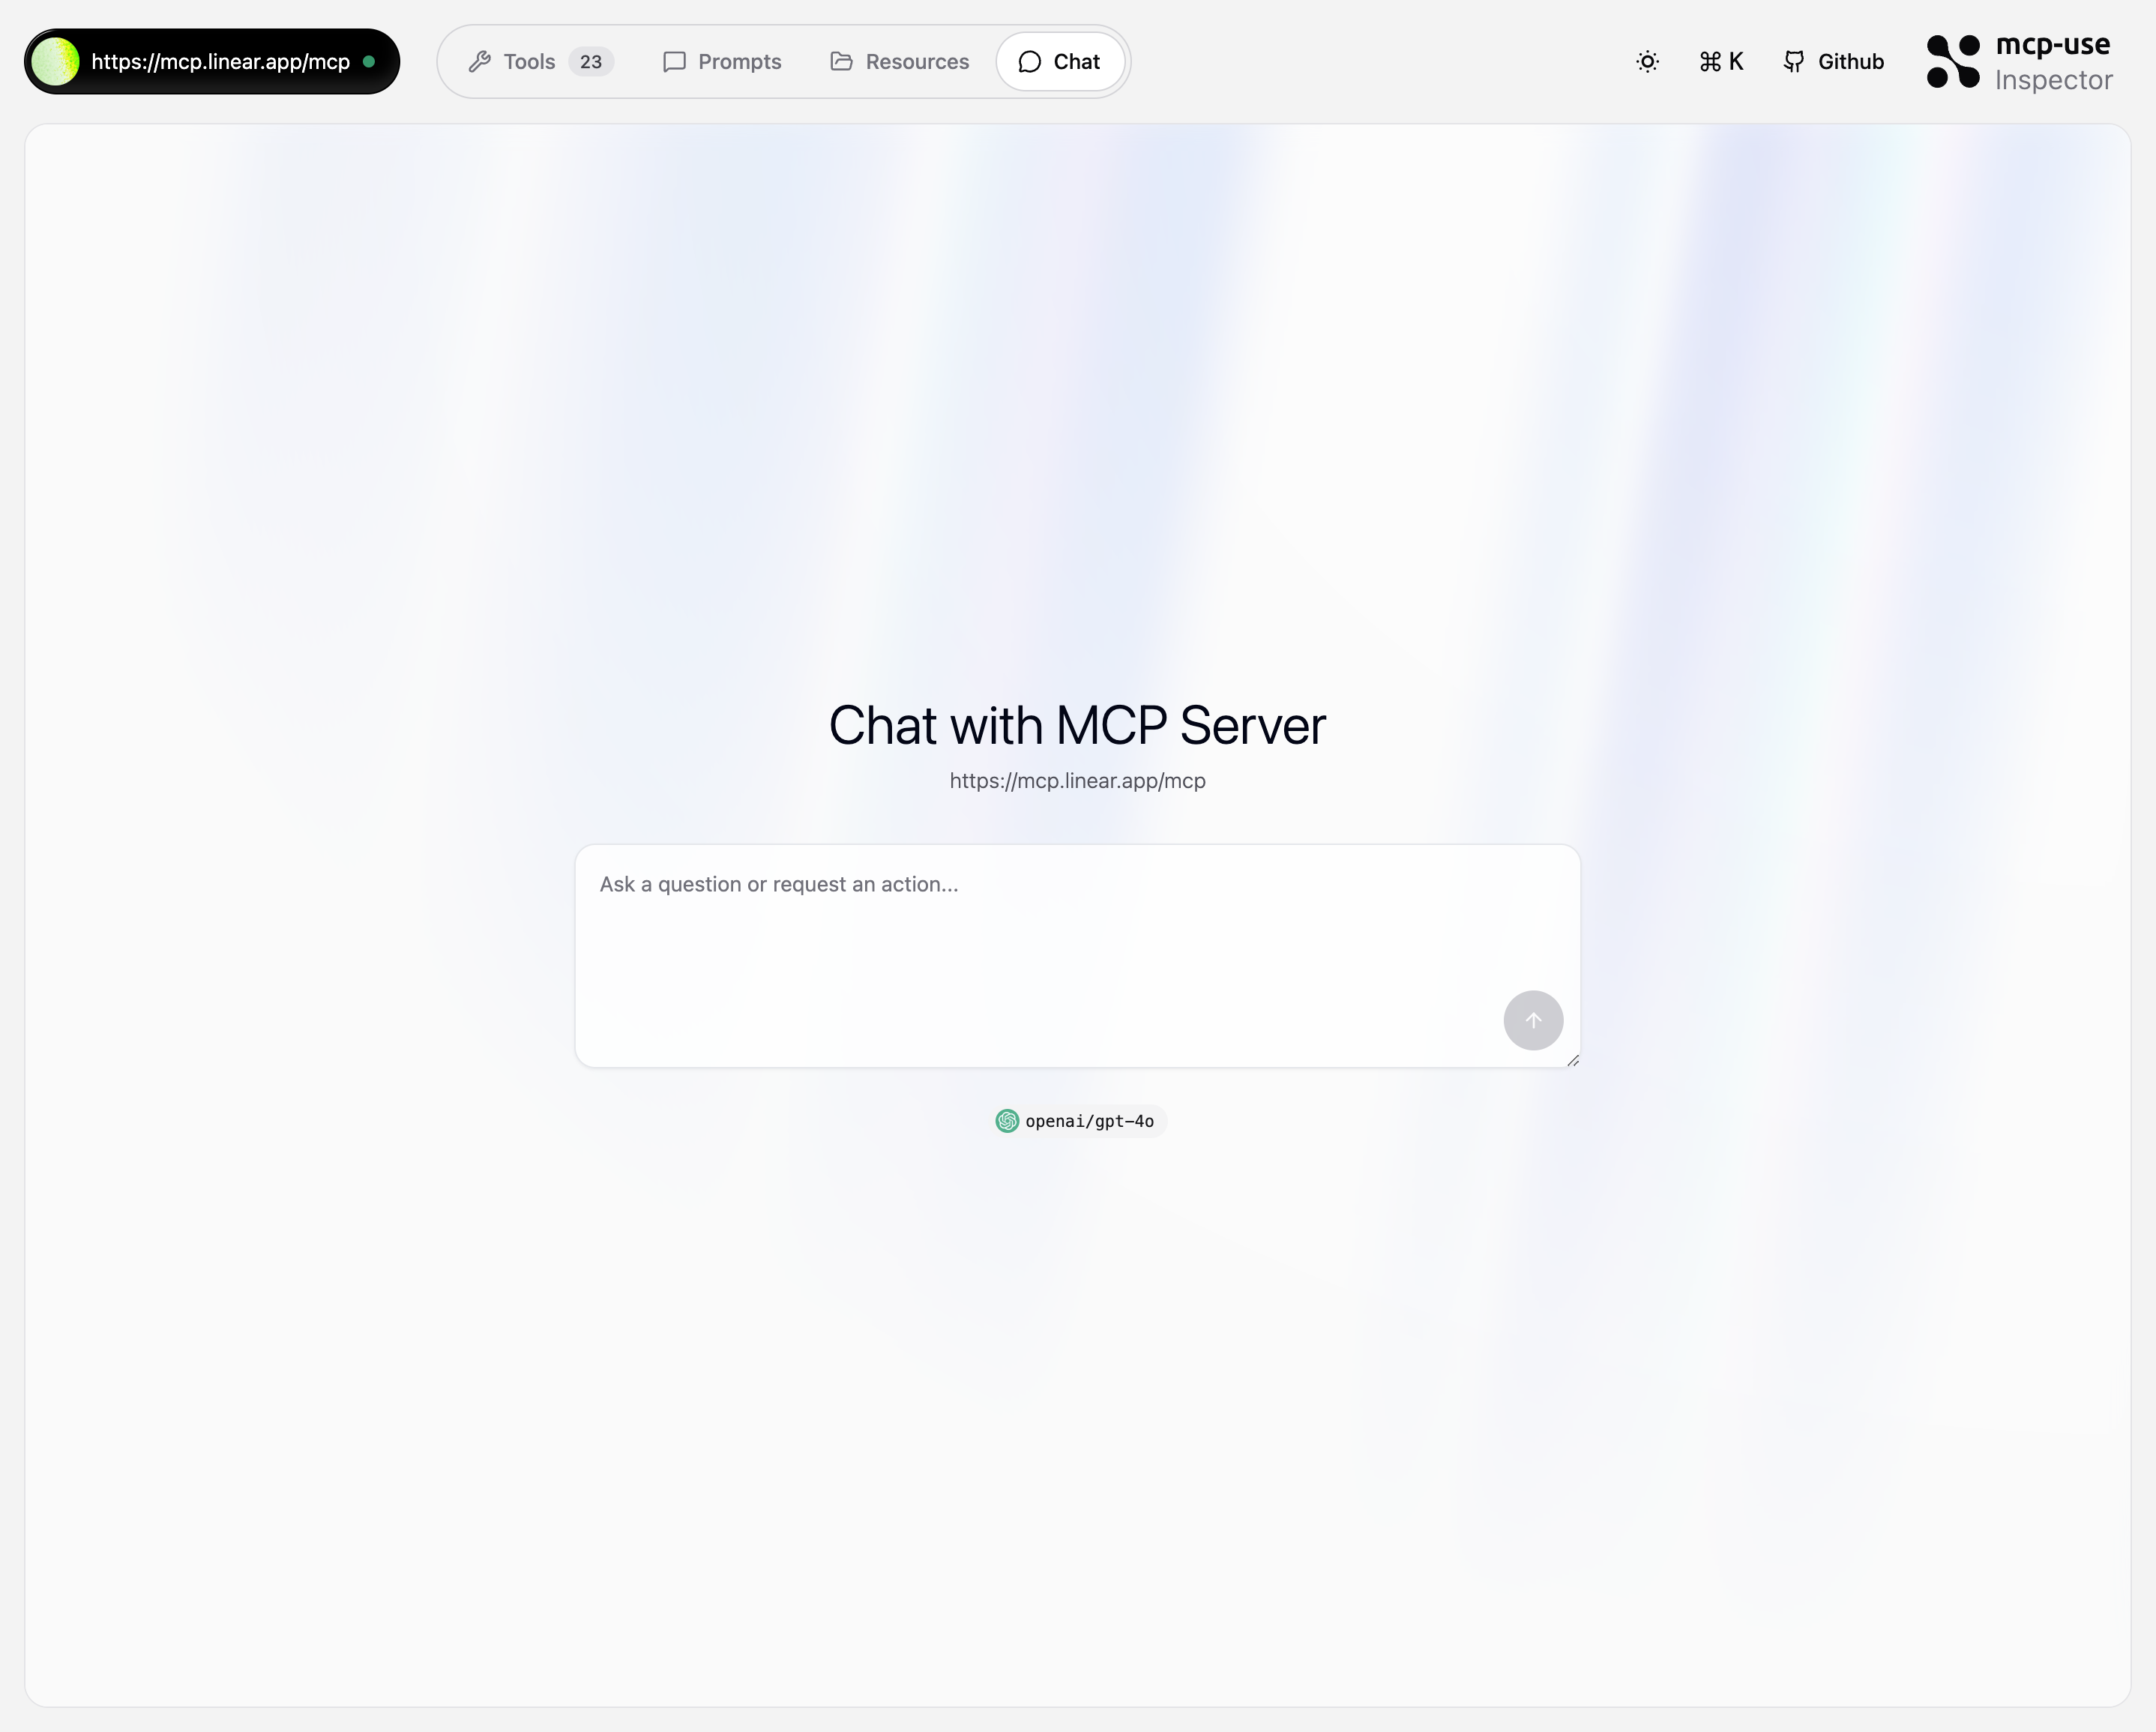
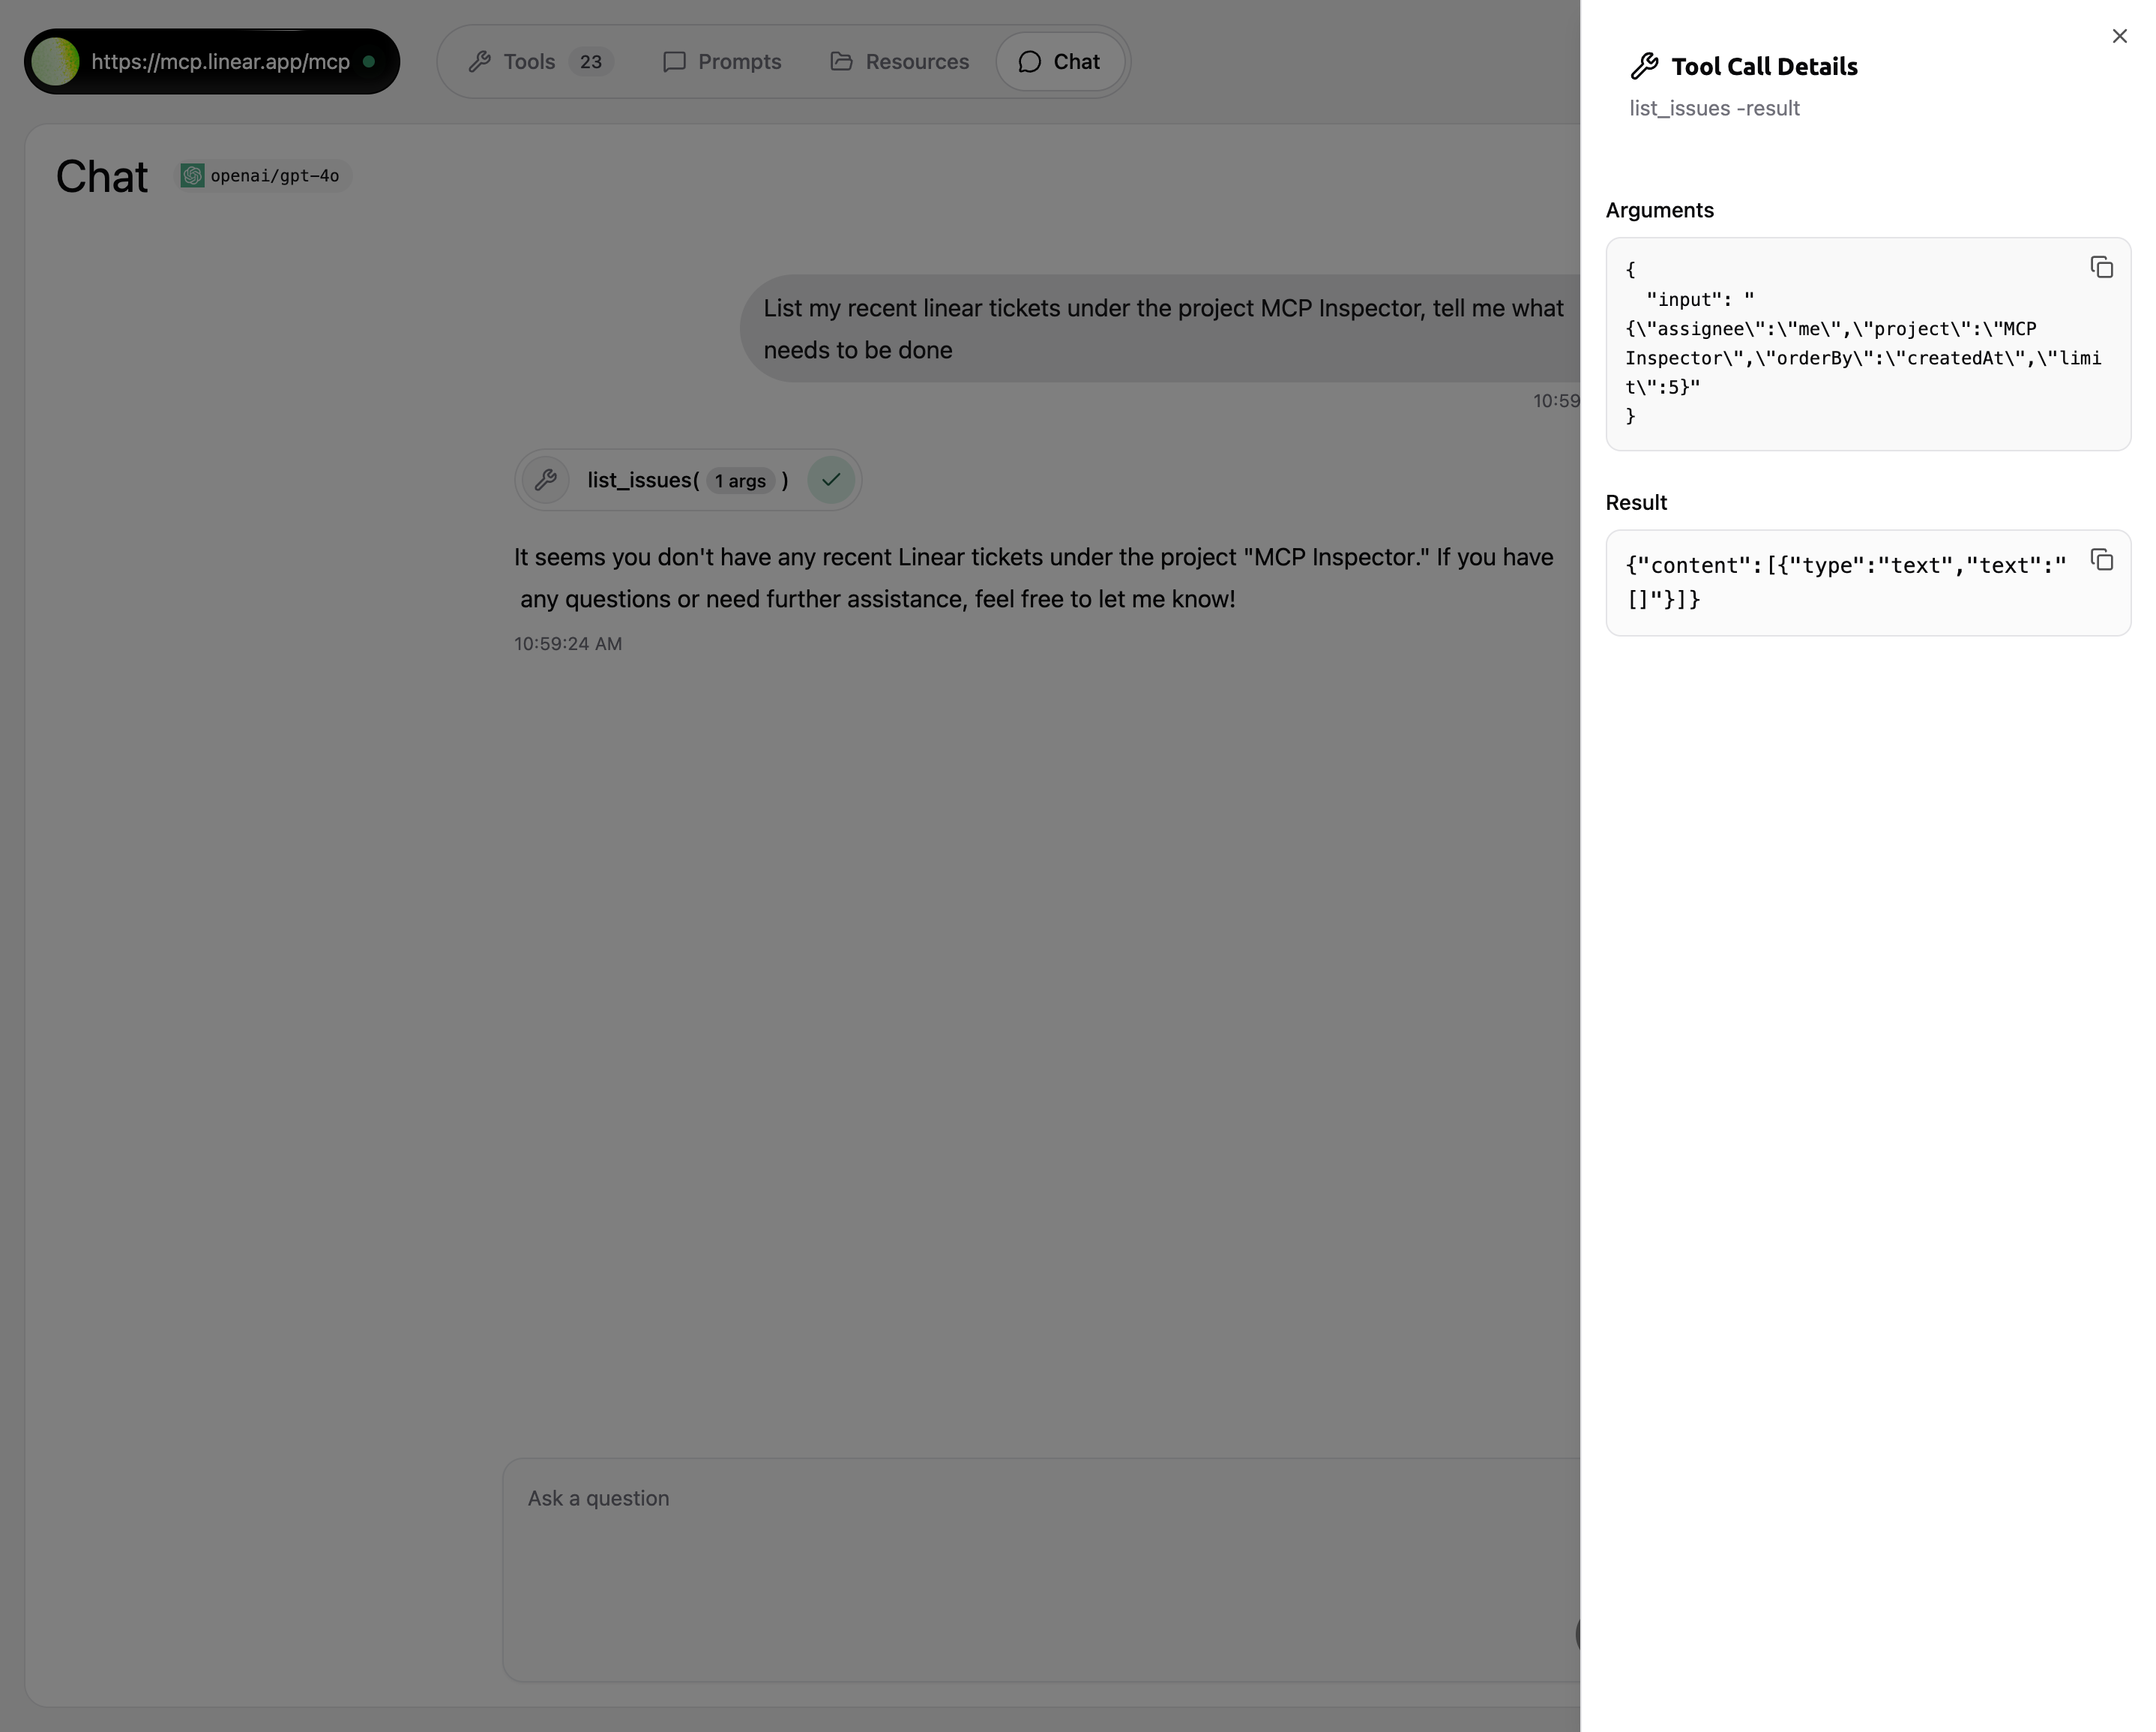
- Message Input: Natural language queries to test MCP server functionality
- Tool Call Visualization: Shows which tools are being called with indicators
- Tool Call Details: Side panel displays arguments and results in JSON format
- Response Display: Shows the assistant’s response based on tool results
- Real-time Feedback: See exactly how the MCP server processes requests
Using Prompts in Chat
If your MCP server provides prompts, you can invoke them directly from the chat interface. This allows you to execute prompts and include their results in your message context before sending.Trigger Prompts Dropdown
Type 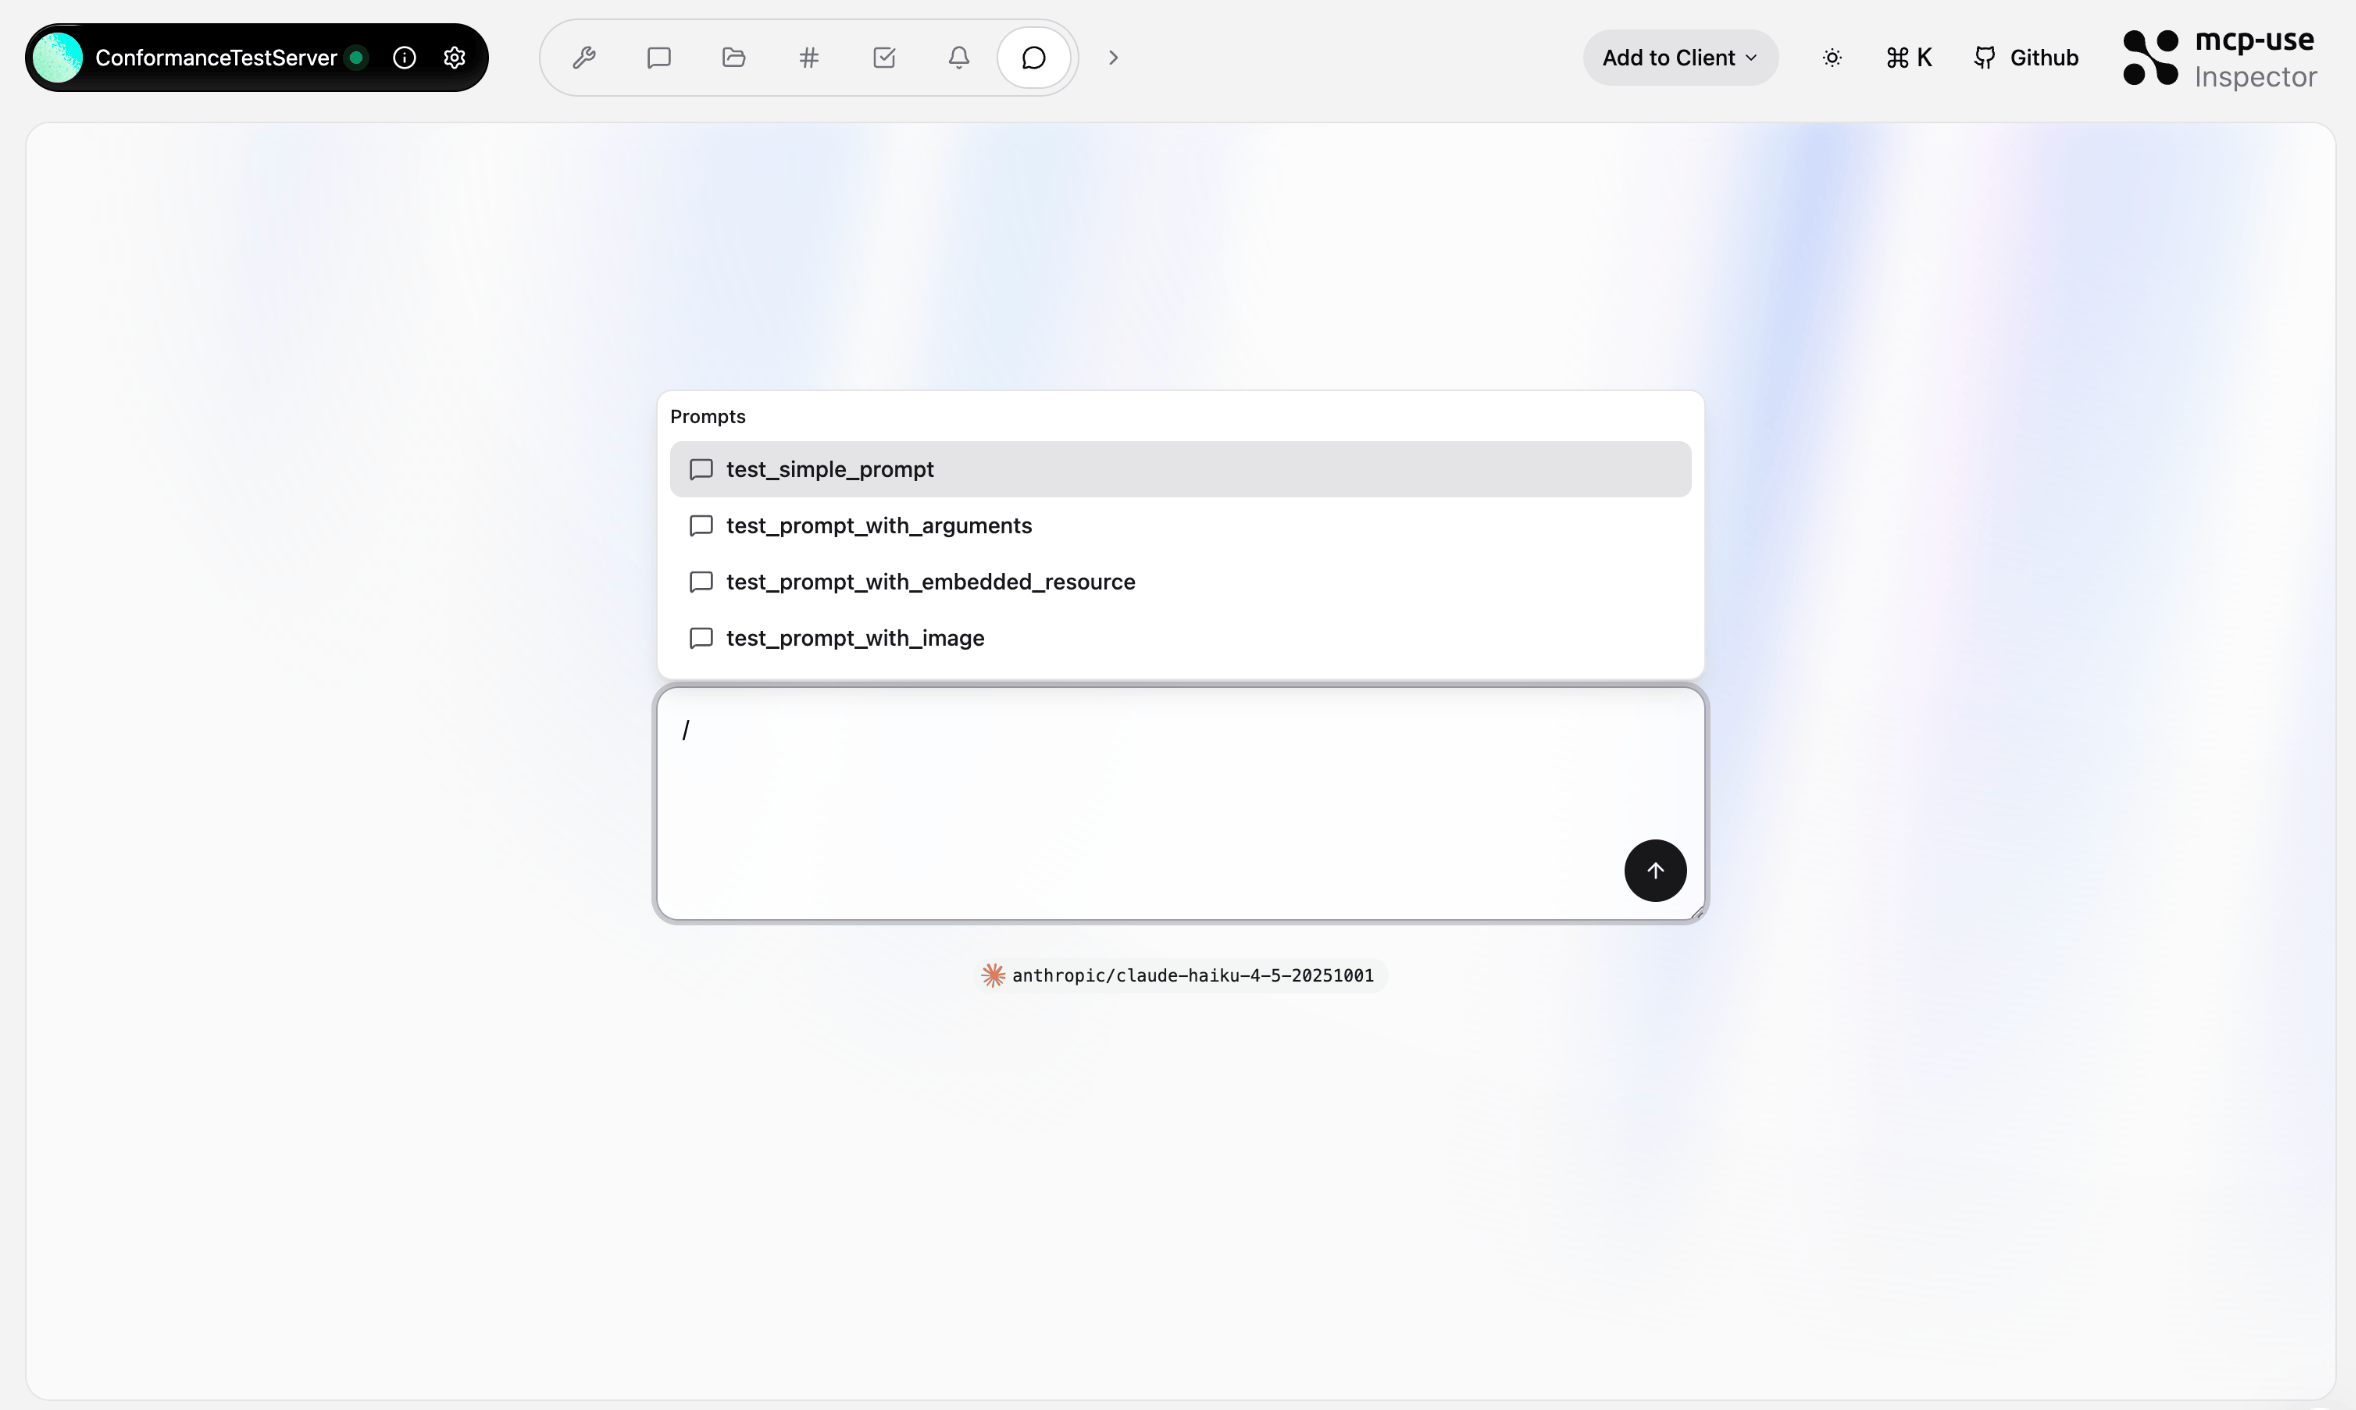
/ in the chat input field to open the prompts dropdown menu.Select a Prompt
Navigate through available prompts using:
- Arrow Keys (↑/↓): Move between prompts
- Mouse Click: Select a prompt directly
- Enter: Execute the focused prompt
- Escape: Close the dropdown without selecting
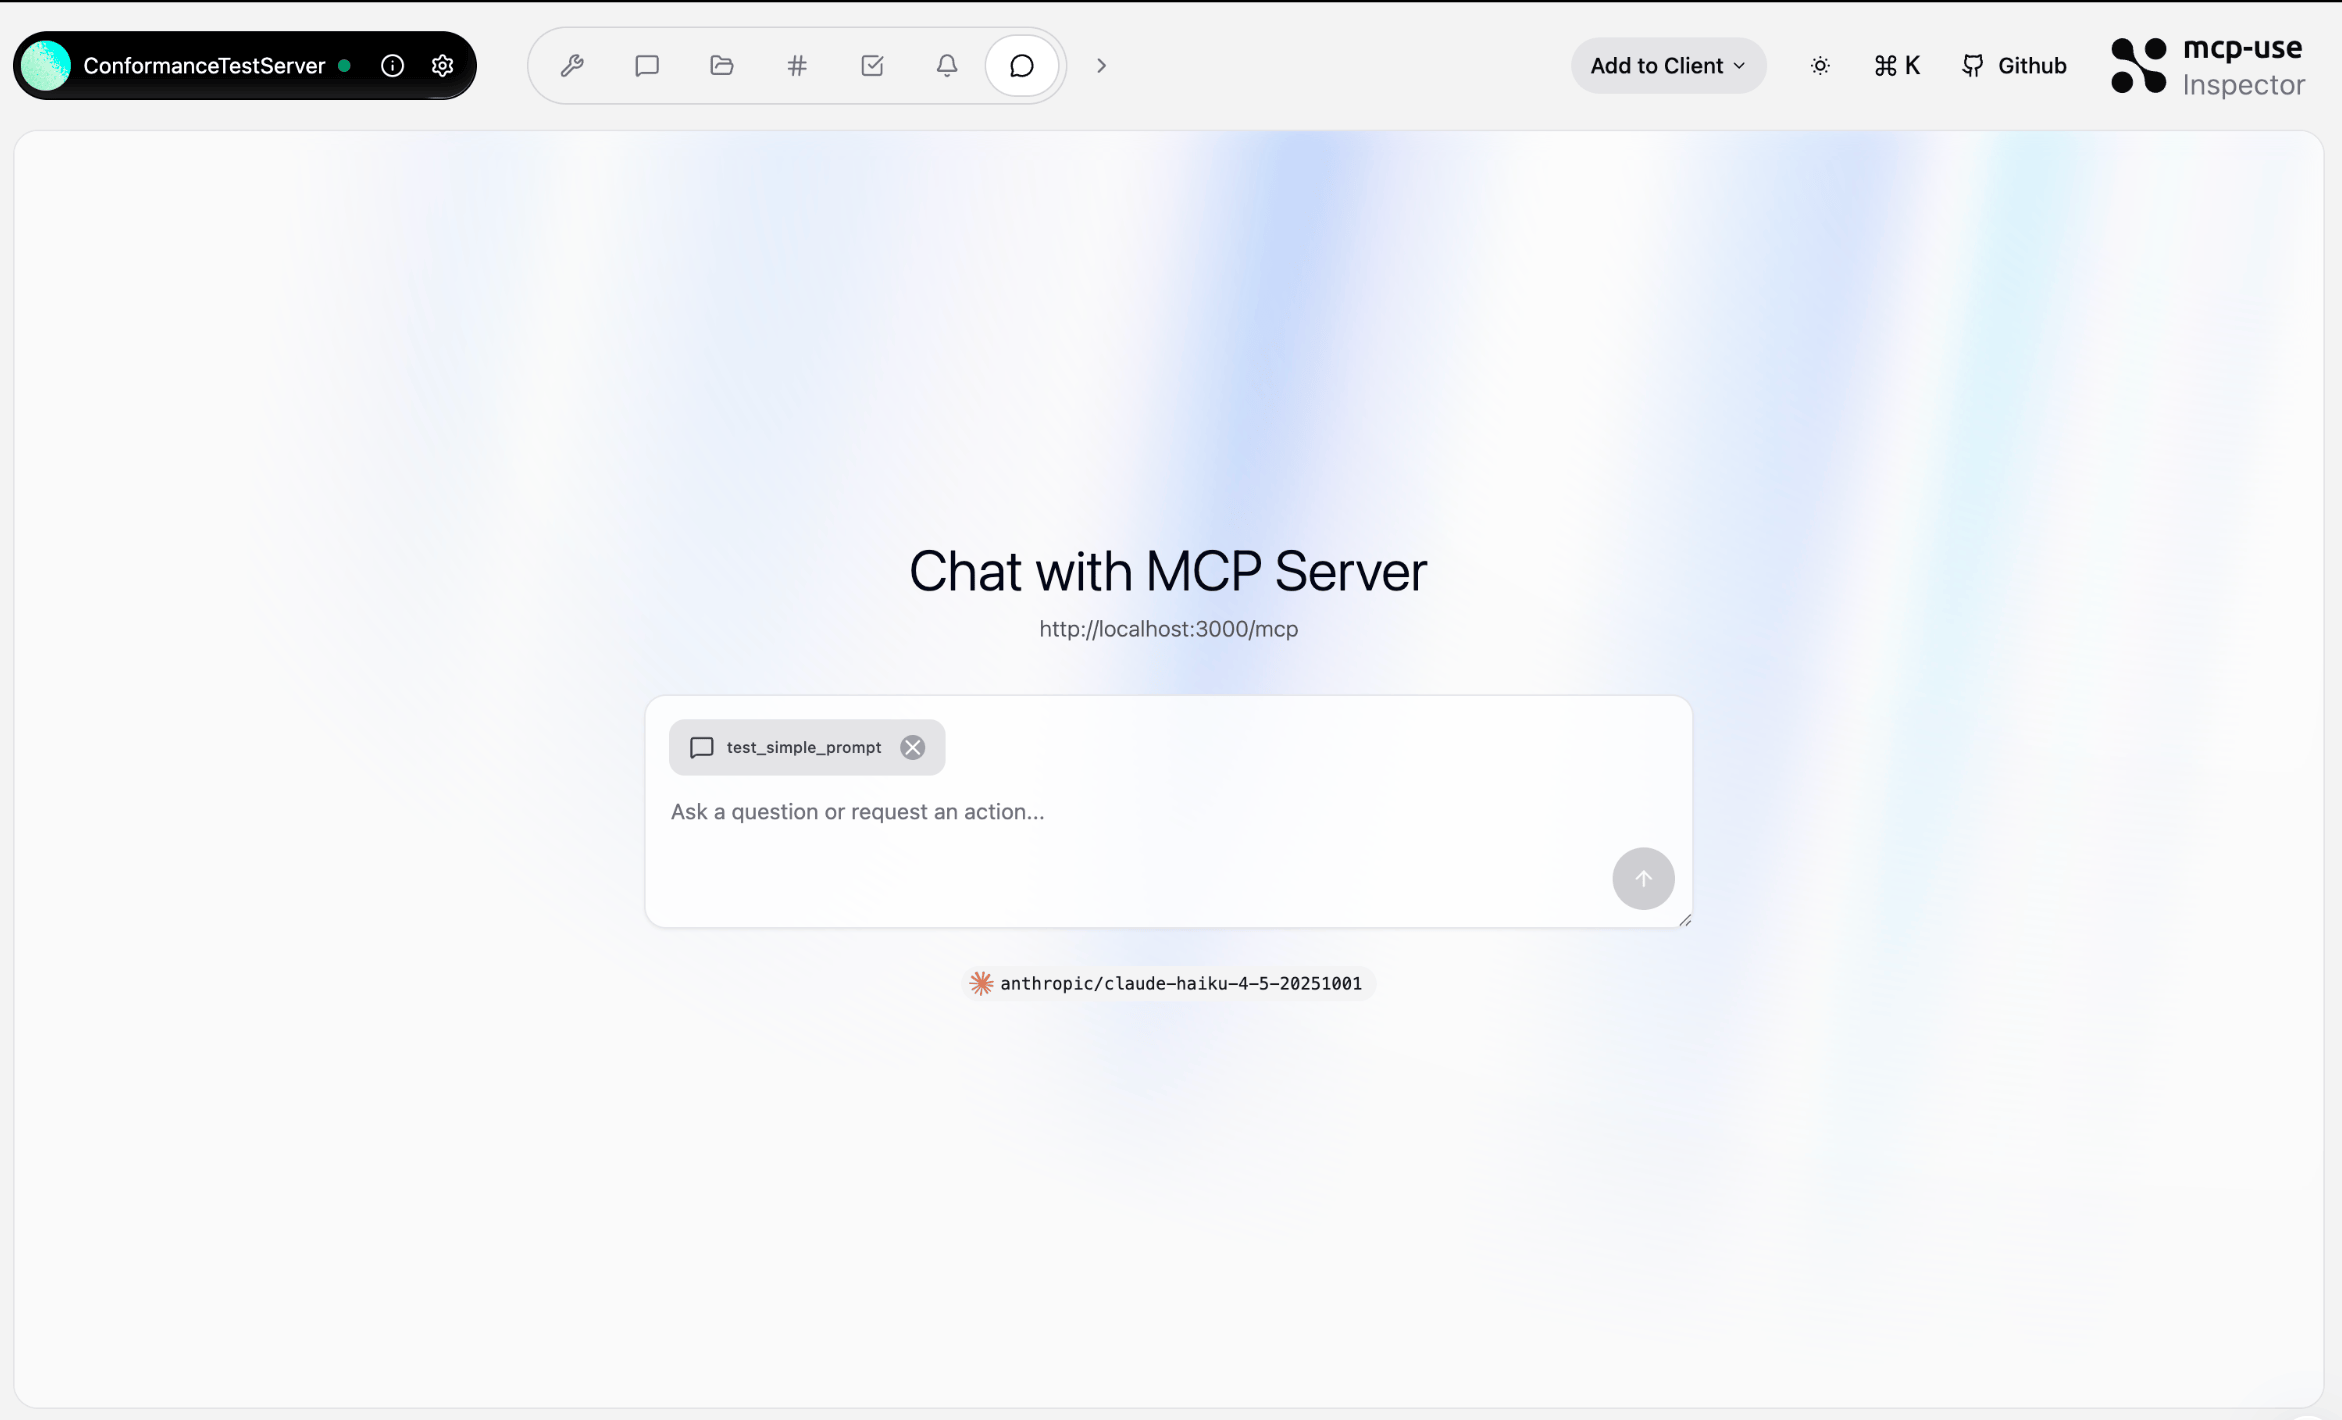
- Arguments Not Supported: Only prompts without parameters are currently supported
- Results Included First: Prompt results are added to your message context before sending
- Keyboard Navigation: Use arrow keys, Enter, and Escape for quick selection
- Inline Execution: Prompts execute immediately upon selection without blocking the chat
Add to Client
The inspector includes a “Add to Client” button in the header that allows you to quickly add the current MCP server to various AI clients and code editors.
Keyboard Shortcuts
The inspector includes powerful keyboard shortcuts for quick navigation: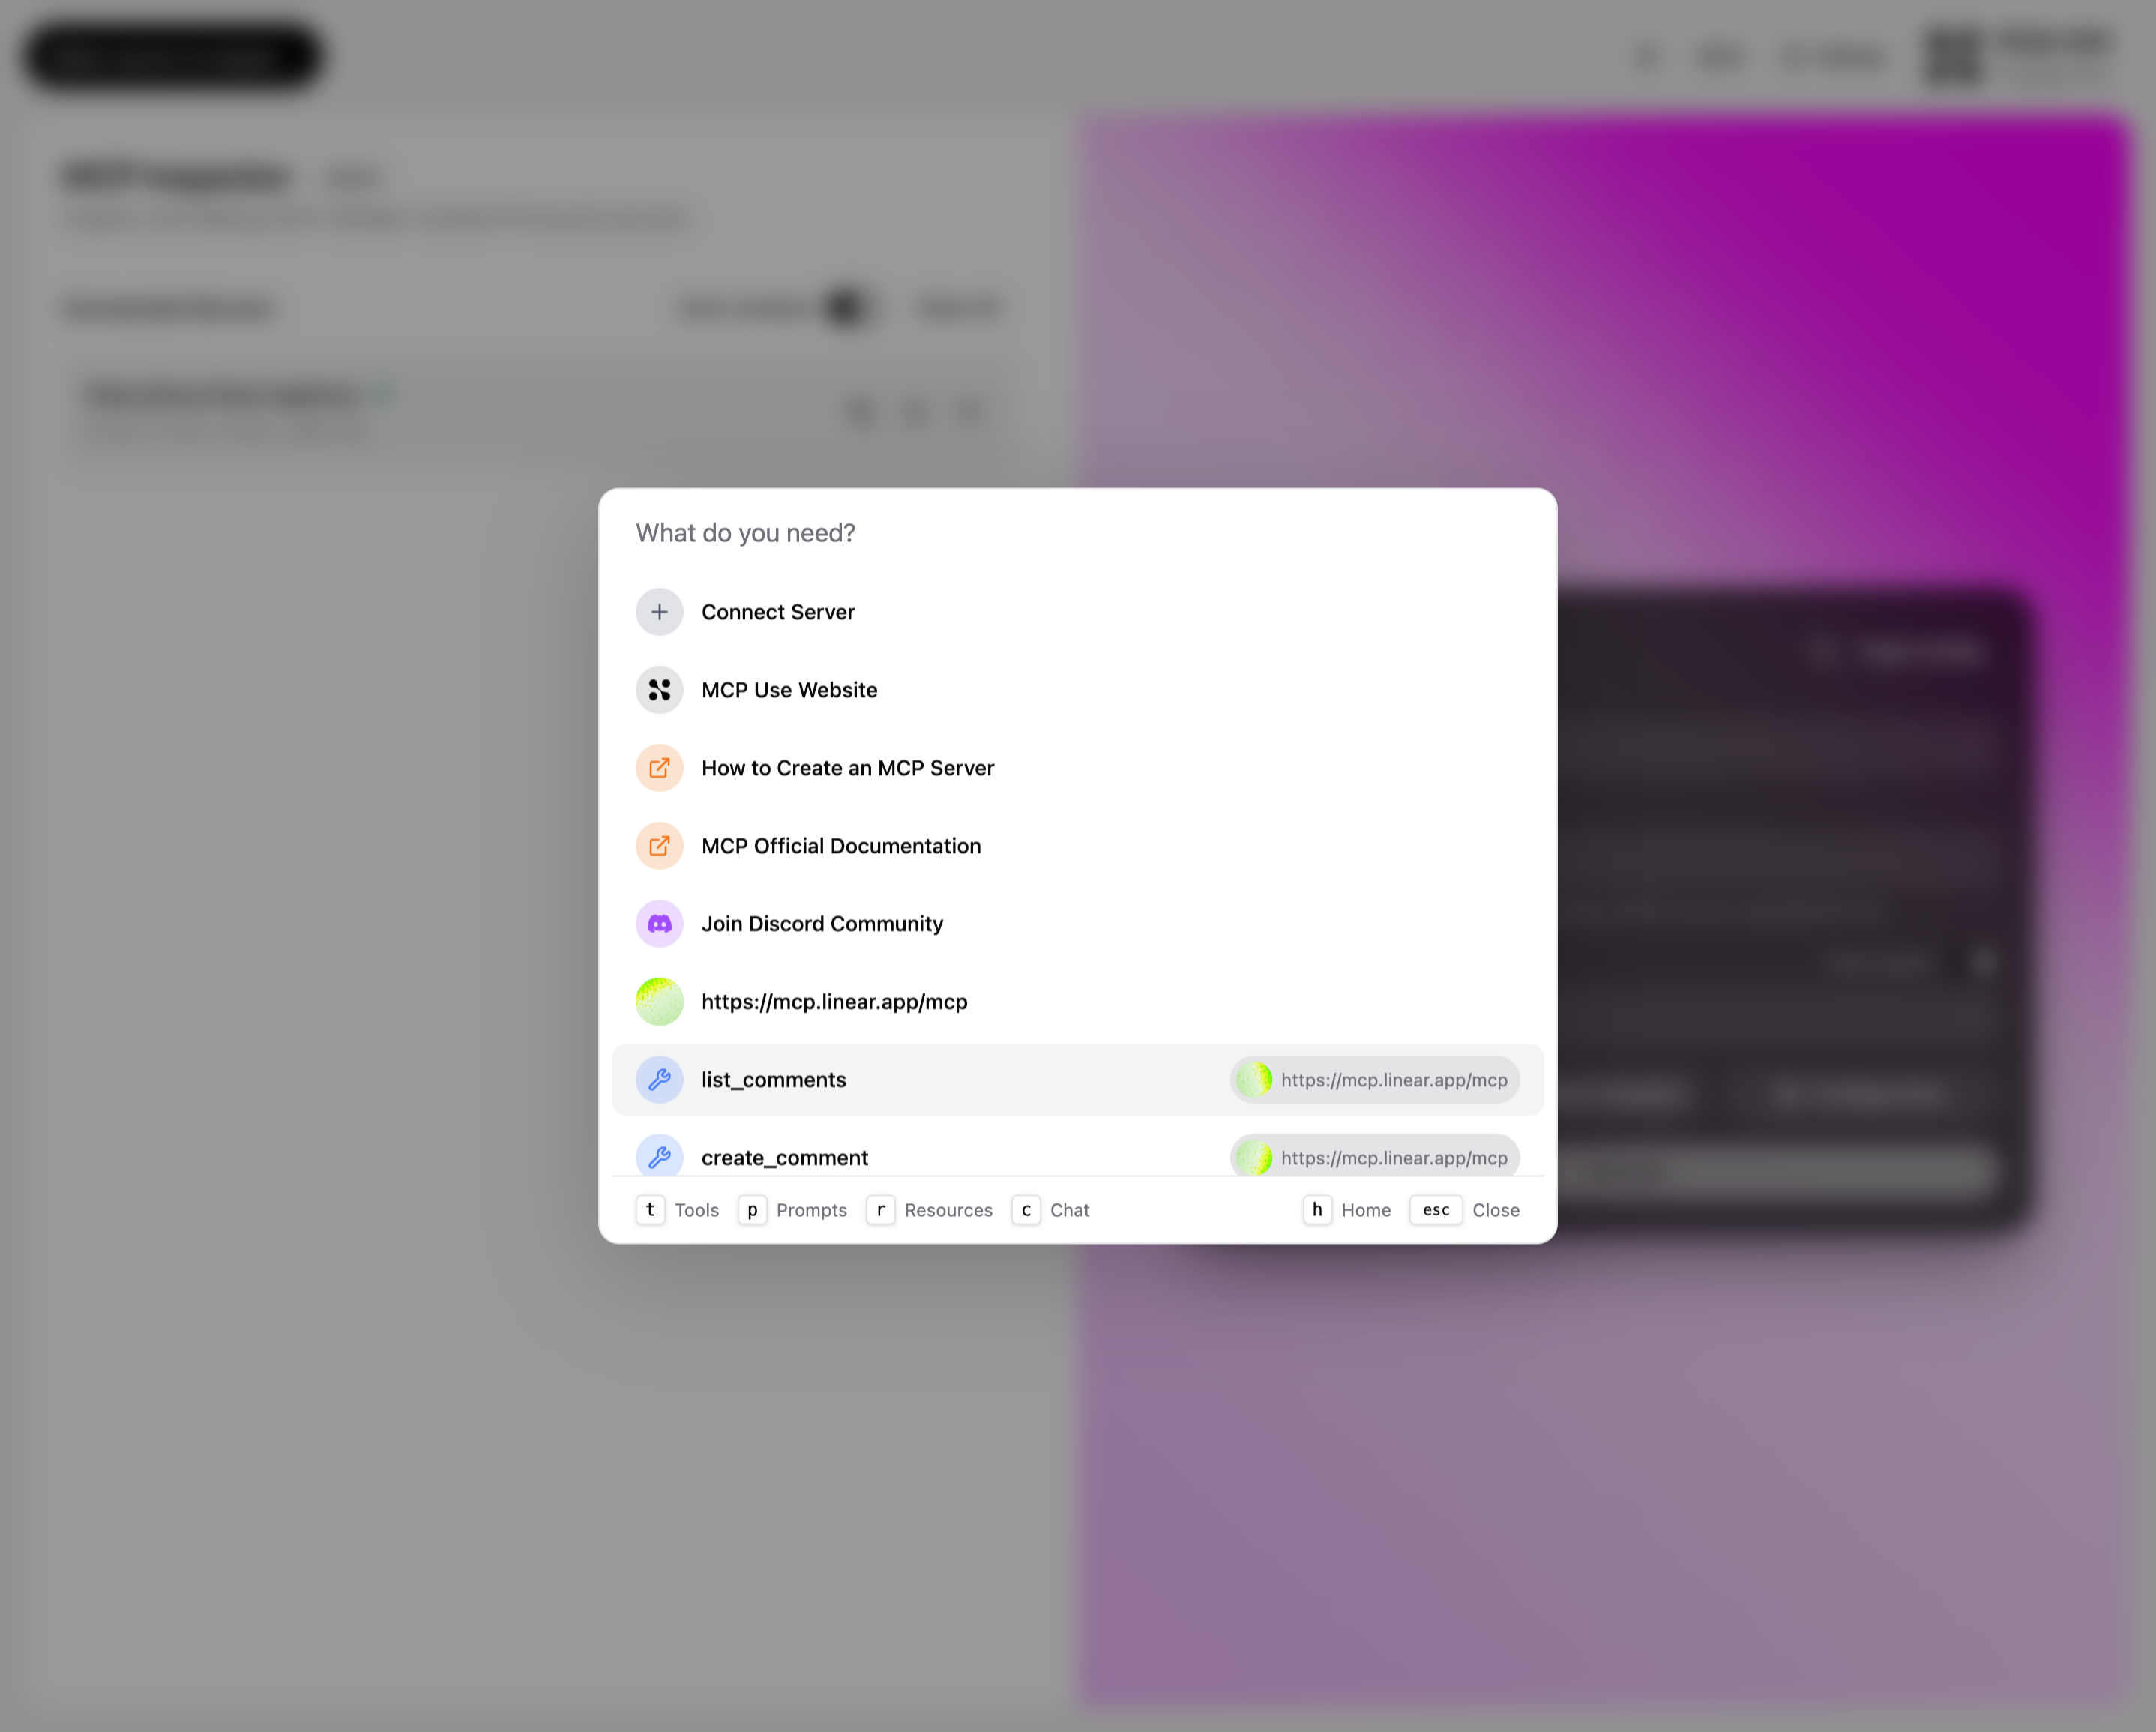
- Quickly connect to a new server
- Access documentation and tutorials
- Jump to recently used servers
- Search and execute tools directly
- Navigate to different tabs (Tools, Prompts, Resources, Chat)
Persistency
The inspector automatically saves your server configurations to localStorage:- Server connections persist across page reloads
- Credentials are stored securely in your browser
- Clear all sessions with the “Clear All” button